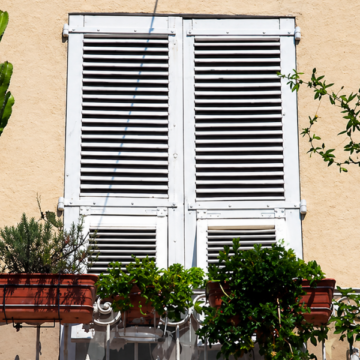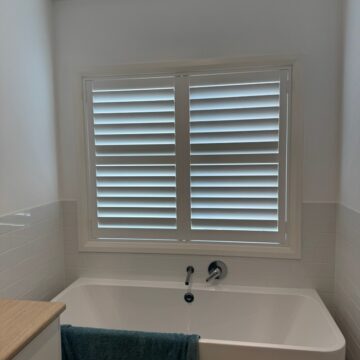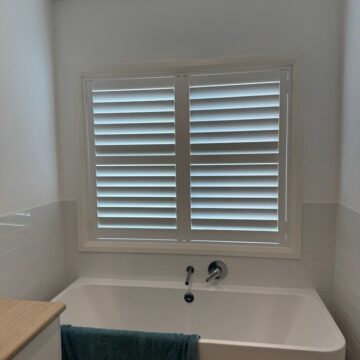
Picking plantation shutters looks simple until you’re standing in a showroom staring at timber samples, PVC swatches and a dozen slat widths, wondering why one room needs something completely different from the next. If you’re wondering how to choose plantation shutters that actually suit your home, the short answer is that no single shutter works everywhere. A bathroom needs moisture-proof PVC, a living room might call for the warmth of timber, and a north-facing bedroom has entirely different light and heat demands than a south-facing study.
The right choice comes down to matching material, slat size and finish to what each room actually does. Wet areas and high-traffic rooms need durable, low-maintenance materials, while living spaces and bedrooms often benefit from timber’s insulation and appearance. Getting this wrong means shutters that warp, fade or simply don’t do their job.
We’ve fitted plantation shutters across Adelaide homes for years, from beachside bungalows to new builds still on the drawing board, and this guide walks through exactly how to choose plantation shutters room by room. You’ll get straight answers on material selection and sizing considerations, plus practical advice on colour, style and what actually holds up in South Australia’s climate.
What to consider before choosing plantation shutters
Before you look at a single sample board, work out what each room actually needs from its window coverings. Room function should drive every decision you make, because a shutter that looks perfect in a magazine might be the wrong choice for a steamy bathroom or a sun-blasted west-facing lounge. Adelaide’s climate adds another layer to this, with hot dry summers and the occasional damp winter putting real stress on cheaper materials.
Choose shutters based on what the room does, not just how it looks.
Assess the room’s conditions
Start by checking sun exposure and moisture levels in the space you’re fitting. North and west-facing rooms in South Australia cop intense afternoon heat, which can warp poor-quality PVC or fade timber that isn’t properly finished. Bathrooms, laundries and kitchens need shutters rated for humidity, while bedrooms and living areas have more flexibility on material since heat and moisture aren’t fighting against the finish.
Set your budget and priorities
Timber shutters generally cost more than PVC but offer better insulation and a warmer look, so decide early where you’re willing to spend more. Getting a free in-home quote before committing helps you compare real pricing for your actual windows rather than guessing from online estimates.
Work out your practical requirements
Run through this checklist for every room before you order anything:
- Does the room get direct sun for several hours a day?
- Is there consistent moisture or humidity, like a bathroom or laundry?
- Do you need full privacy, partial light control, or both?
- Are the windows standard sizes or unusual shapes, like arches or bay windows?
- Will tradies or removalists need clear access during installation?
- Is this for an existing home or a new build still being framed?
Answering these questions upfront saves you from costly mismatches later, like timber shutters cracking in a steamy ensuite or PVC louvres looking out of place in a formal dining room. Once you’ve nailed down the room’s conditions and your budget, you’re ready to start narrowing down materials room by room.
Step 1. Choose the right material for each room
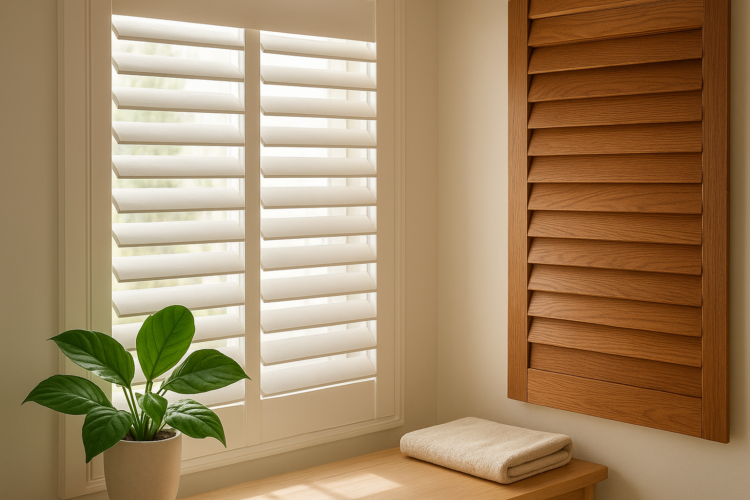
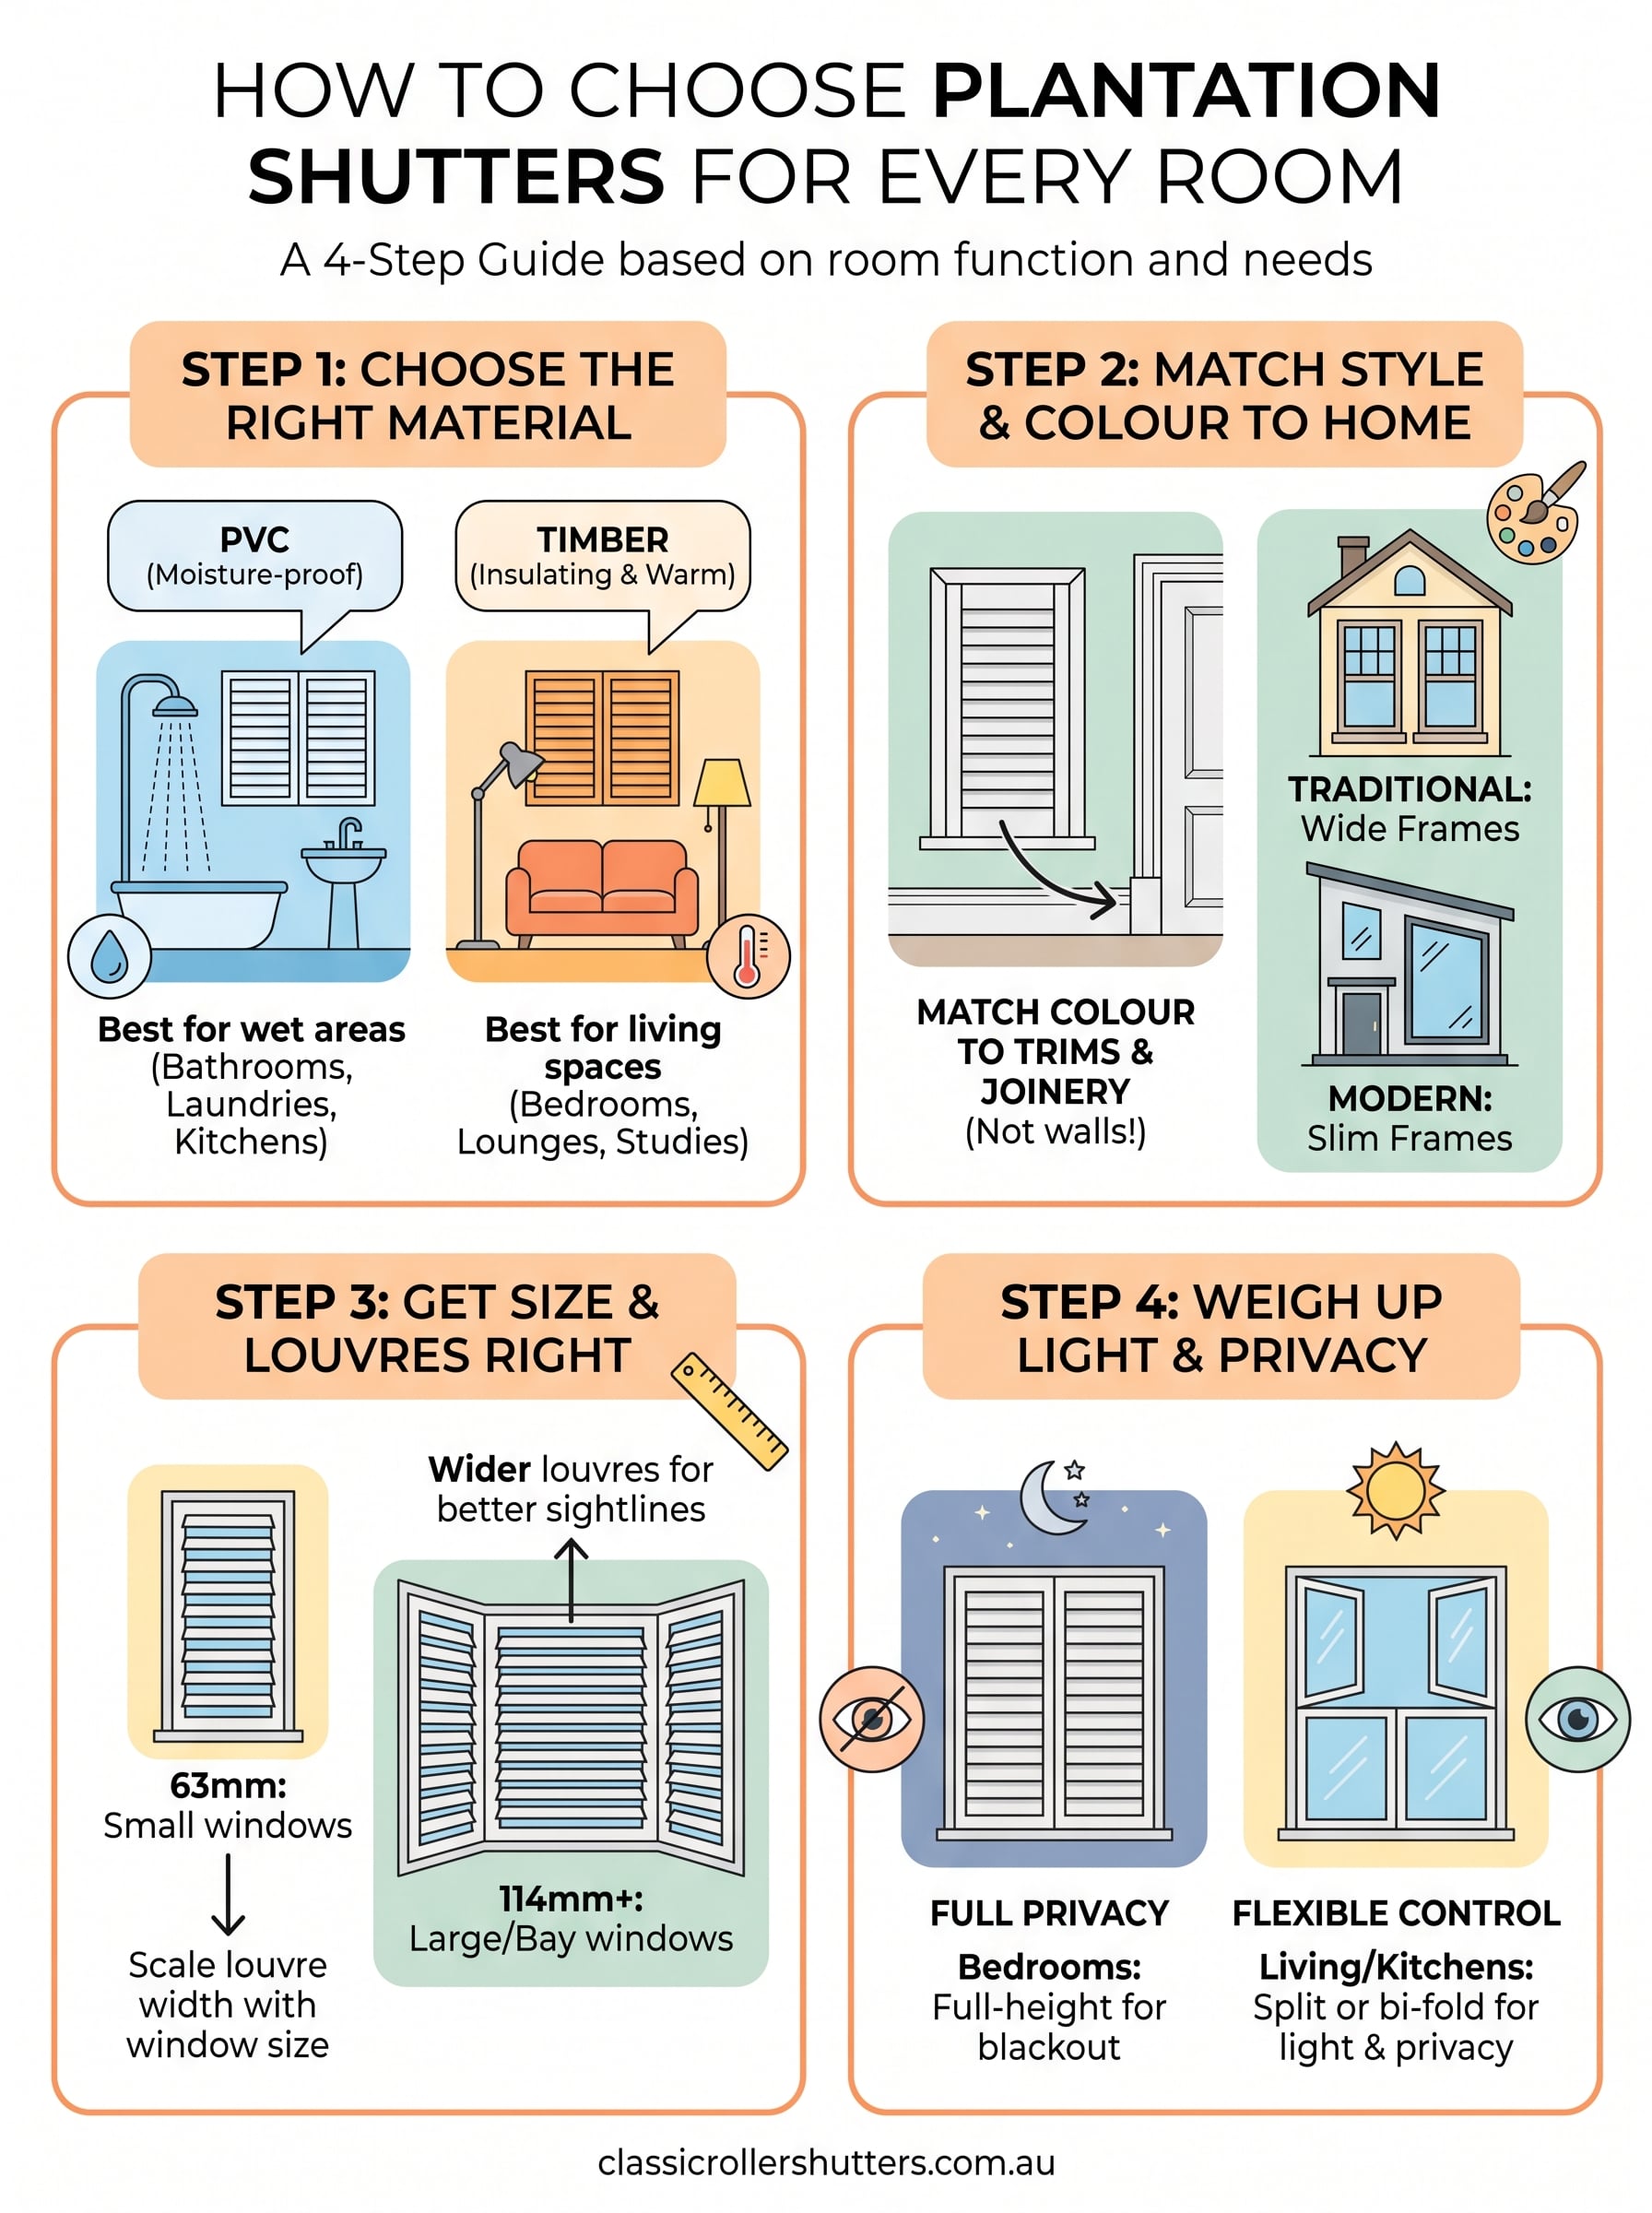
Material choice makes or breaks a shutter installation, and it’s the first real decision once you’ve assessed each room. PVC shutters handle moisture and heat without warping, cracking or fading, which makes them the obvious pick for bathrooms, laundries and kitchens. Timber shutters bring genuine warmth and better insulation, so they suit living rooms, bedrooms and studies where you want both comfort and a premium finish.
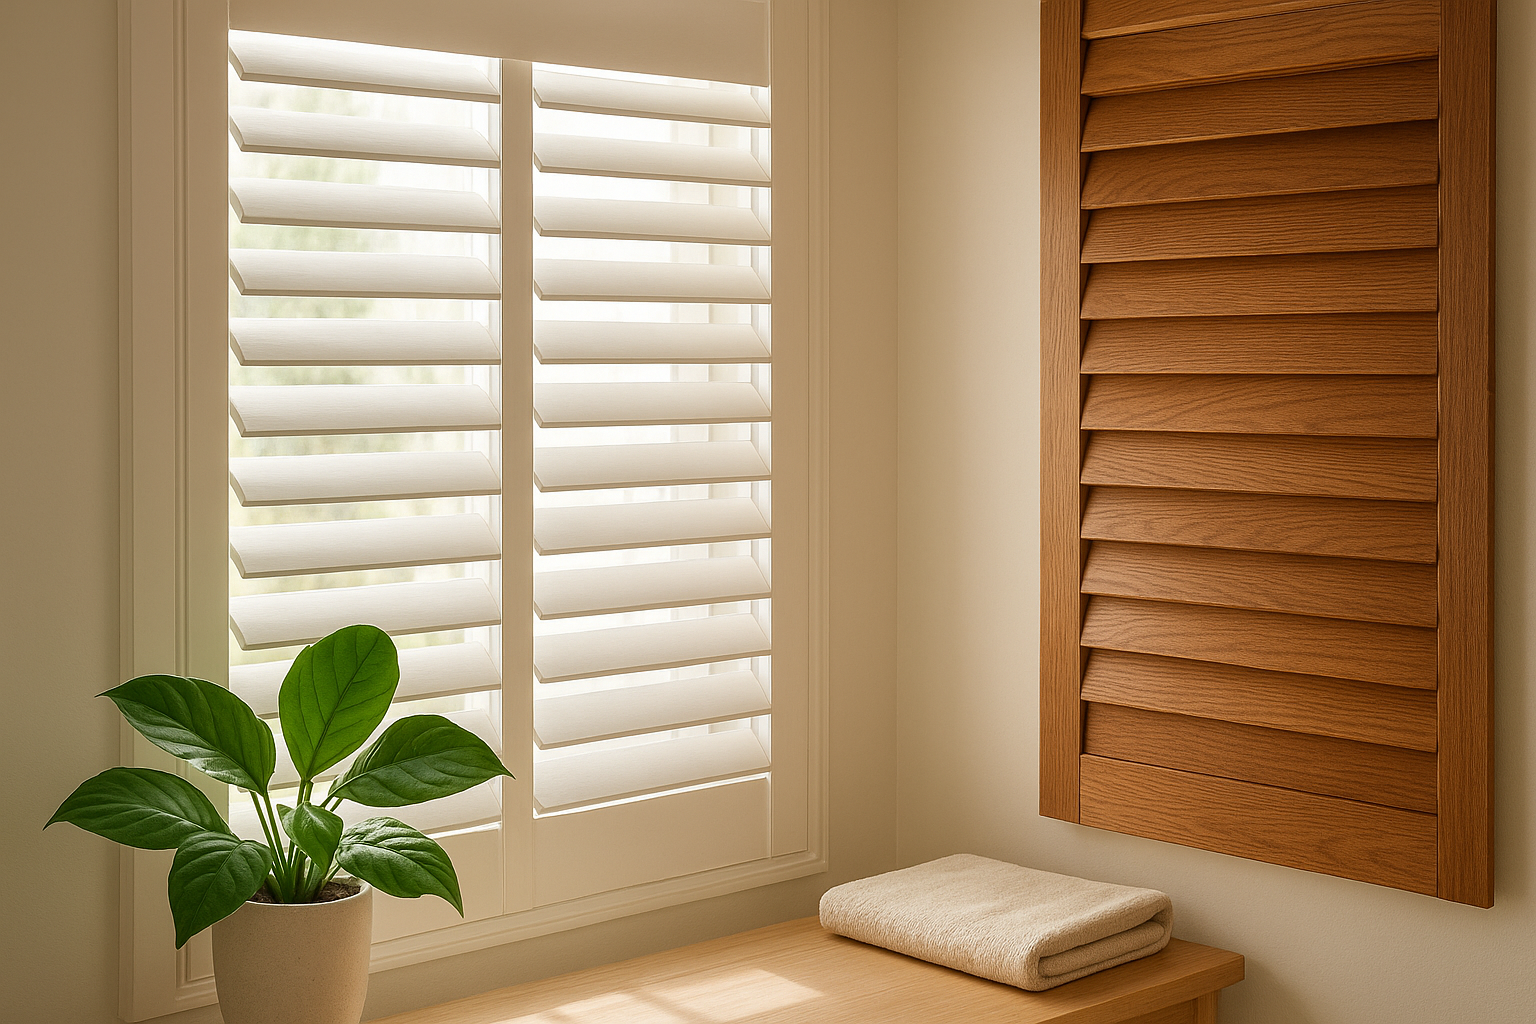
Match the material to the room’s moisture and heat, not just your favourite look.
Compare your options
| Material | Best for | Strengths | Watch out for |
|---|---|---|---|
| PVC | Bathrooms, laundries, kitchens | Moisture-proof, low maintenance, budget-friendly | Less insulating, can look less premium |
| Basswood timber | Living rooms, bedrooms, studies | Warm appearance, strong insulation | Needs a quality finish for humid areas |
| Composite/hybrid | Mixed-use rooms, new builds | Balances durability and appearance | Fewer colour options than pure timber |
New builds give you an advantage here, since you can plan materials against each room’s orientation before the windows even go in. Quoting from floor plans lets us match PVC to wet areas and timber to living spaces before construction finishes, so nothing gets fitted twice.
Existing homes need a closer look at what’s already installed. Swapping tired aluminium or ageing timber for a material suited to the room, rather than replacing like-for-like, often solves problems that have bothered you for years, like fading in a west-facing lounge or swelling louvres in a steamy ensuite.
Step 2. Match the style and colour to your home
Once you’ve settled on material, turn your attention to how the shutters will actually look against your home’s existing finishes. Frame style matters more than most homeowners expect, since a plantation shutter with wide, flat frames suits a Federation-era Adelaide bungalow, while slim, minimal frames sit better against the clean lines of a new build. Walk through each room and check the trims, skirting boards and existing joinery before picking a frame profile, because mismatched styles stand out immediately once the shutters go up.
Pick a colour that matches your trims, not your walls.
Choose colours that work with your interior
Colour is where most people go wrong, because they match shutters to wall paint rather than the woodwork already in the room. Match your shutter colour to existing skirting boards, door frames or window trims instead, since walls get repainted far more often than joinery. Classic white and off-white finishes suit most Adelaide homes and resist dating, while stained timber tones work well in rooms with exposed beams or timber flooring.
Keep consistency across the house
Running the same colour and frame style throughout the whole house creates a cohesive look, even when you’re mixing materials between wet and dry areas. If you’re fitting PVC in the bathroom and timber in the living room, choose matching or near-matching finishes so the transition between rooms feels deliberate rather than accidental. This consistency pays off most in open-plan homes, where sightlines run straight from the kitchen through to the living area.
Step 3. Get the size and louvres right
Getting the size right matters as much as the material, because oversized louvres in a small window look clumsy and undersized louvres in a bay window leave gaps in your light control. Louvre width should scale with the window itself; bigger windows carry wider louvres well, while smaller windows, like bathroom highlights or narrow hallway panes, need narrower blades so the shutter doesn’t overwhelm the frame.
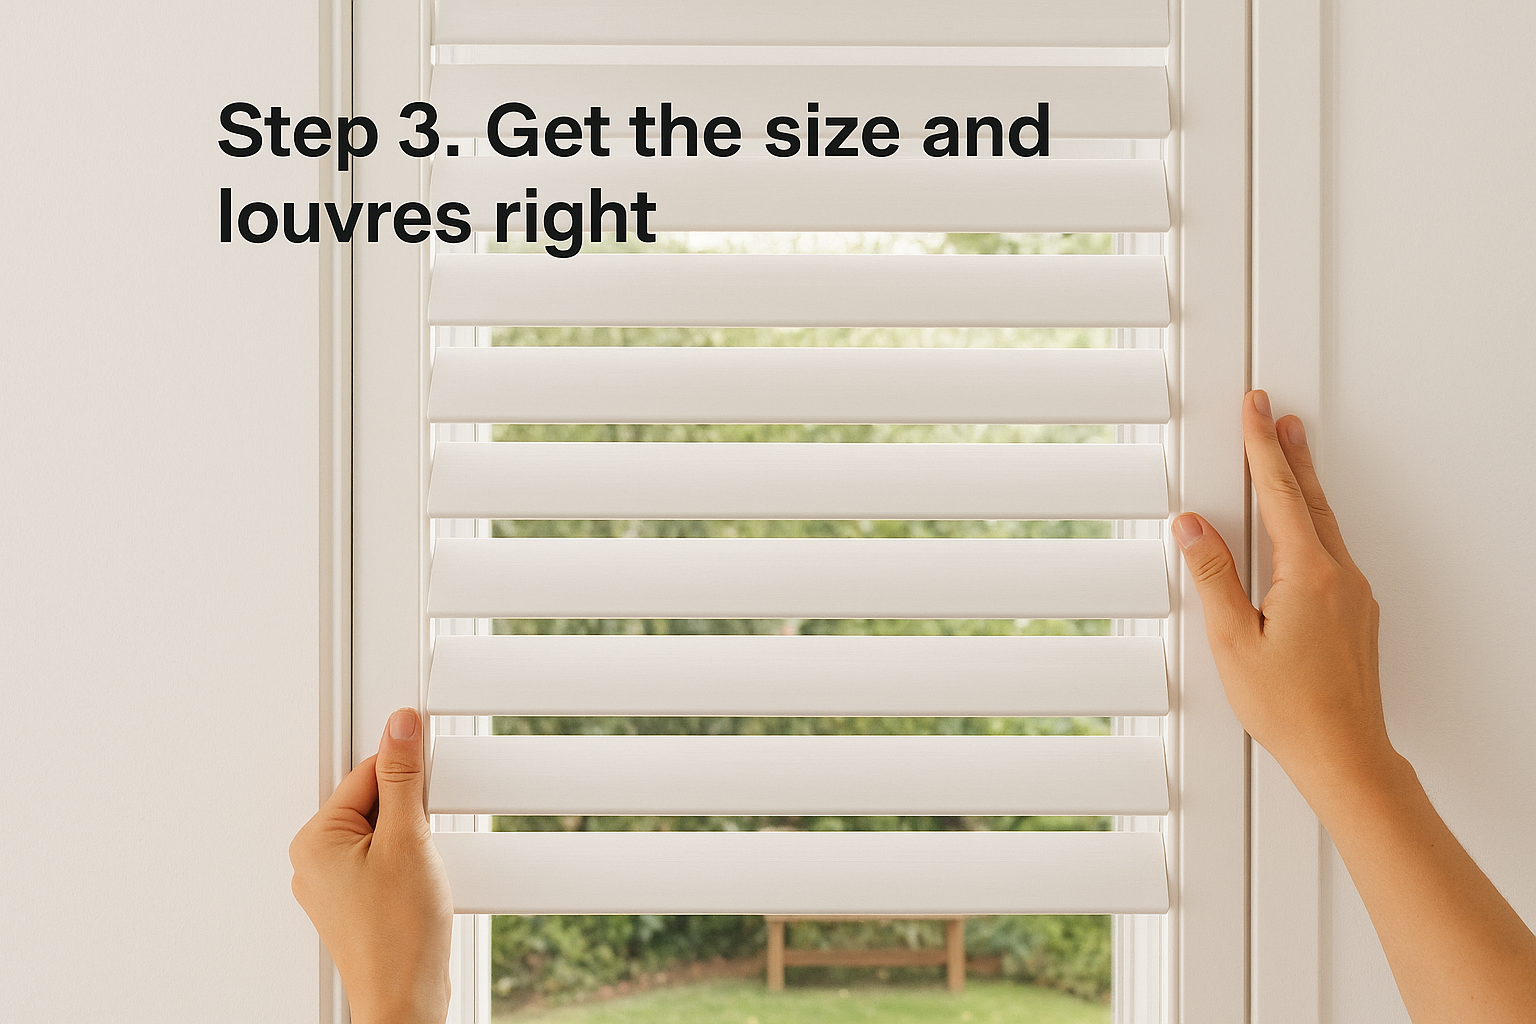
Bigger windows can handle wider louvres, smaller windows need narrower ones.
Pick the right louvre width for the room
Use this as a starting guide, then check it against your actual window dimensions:
| Louvre width | Best suited to |
|---|---|
| 63mm | Small windows, bathrooms, narrow hallways |
| 89mm | Standard bedrooms, kitchens, mid-sized living areas |
| 114mm+ | Large living rooms, bay windows, statement windows |
Wider louvres also give you better sightlines when open, which suits rooms where you want a clear outdoor view, like a lounge facing a garden or courtyard.
Measure accurately or get it done for you
Accurate measurements make the difference between shutters that fit flush and ones that leave gaps at the frame edges. Odd-shaped windows, arches, bays and angled frames all need custom measuring, which is exactly why a free in-home consultation beats a DIY tape measure job. If you’re building new, we can measure straight from your floor plans, so shutters arrive ready to fit the moment your windows are in.
Step 4. Weigh up light, privacy and room needs
Every room has a different balance to strike between letting light in and keeping prying eyes out, and this final step ties everything else together. Panel configuration decides how much of the window you can open at once, so bedrooms and bathrooms usually suit a single fixed panel for full privacy, while living rooms and kitchens benefit from split panels or bi-fold configurations that let you open the top half for light while the bottom stays shut.
Privacy needs should decide how the shutter opens, not just how it looks closed.
Match the configuration to the room
Run through these common setups before locking in your order:
- Bedrooms: full-height panels with tight louvre control for complete blackout at night.
- Bathrooms: fixed panels, often with a mid-rail, for privacy without sacrificing airflow.
- Living rooms: split panels so you can open the top for light and keep the bottom closed for street-facing privacy.
- Studies: adjustable louvres angled to cut glare off screens without blocking the room entirely.
Think about how the room gets used
A street-facing lounge needs more privacy control than a bedroom overlooking a private backyard, so don’t apply the same configuration everywhere just for consistency. Kitchens near outdoor entertaining areas often work best with shutters that open fully, letting the space flow outside during warmer months. Considering how each room actually gets lived in, rather than treating every window the same, gives you shutters that solve real problems instead of just filling a gap.
Finding the right fit for your home
Choosing plantation shutters comes down to matching material, size and configuration to what each room actually does, not just picking whatever looks good on the showroom floor. A bathroom needs moisture-proof PVC with a fixed panel, a bedroom wants timber and tight louvre control for blackout, and a sun-drenched lounge needs wider louvres for better sightlines. Work through each room’s conditions first, then let those answers guide your material and style choices.
Getting all four steps right on your own takes time, and mismatched shutters are an expensive mistake to fix later. That’s where a proper in-home consultation pays off, since someone measuring your actual windows will catch issues a sample board never shows. If you’re ready to get it right the first time, book a free in-home quote with Classic Roller Shutters and we’ll help you fit every room properly.