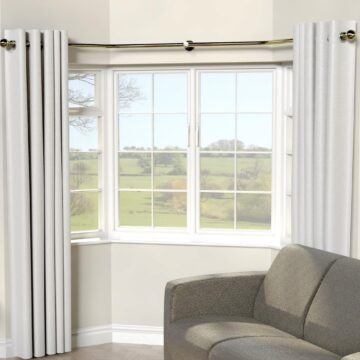
A ceiling mounted curtain track installation gives your room a cleaner, more streamlined look than a standard wall-mounted setup. It draws the eye upward, makes windows appear taller, and works particularly well in spaces where wall mounting isn’t practical, think bay windows, room dividers, or floor-to-ceiling glazing.
The good news: this is a project most handy homeowners can tackle in an afternoon. You’ll need the right hardware, a few basic tools, and a clear understanding of what’s above your ceiling lining, because drilling into the wrong spot is where most DIY installations go sideways. Whether you’re working with timber joists, steel frames, or concrete, the approach changes, and getting it right the first time matters.
At Classic Roller Shutters Adelaide, we’ve been manufacturing and installing curtains and window coverings across Adelaide for over 40 years. We see the results of DIY ceiling track jobs regularly, some excellent, some less so. This guide walks you through the process step by step, covering the tools you’ll need, how to measure correctly, and how to secure your track properly to different ceiling types. And if you’d rather leave it to the professionals, we’re always happy to help with a free in-home consultation.
What to plan before you drill
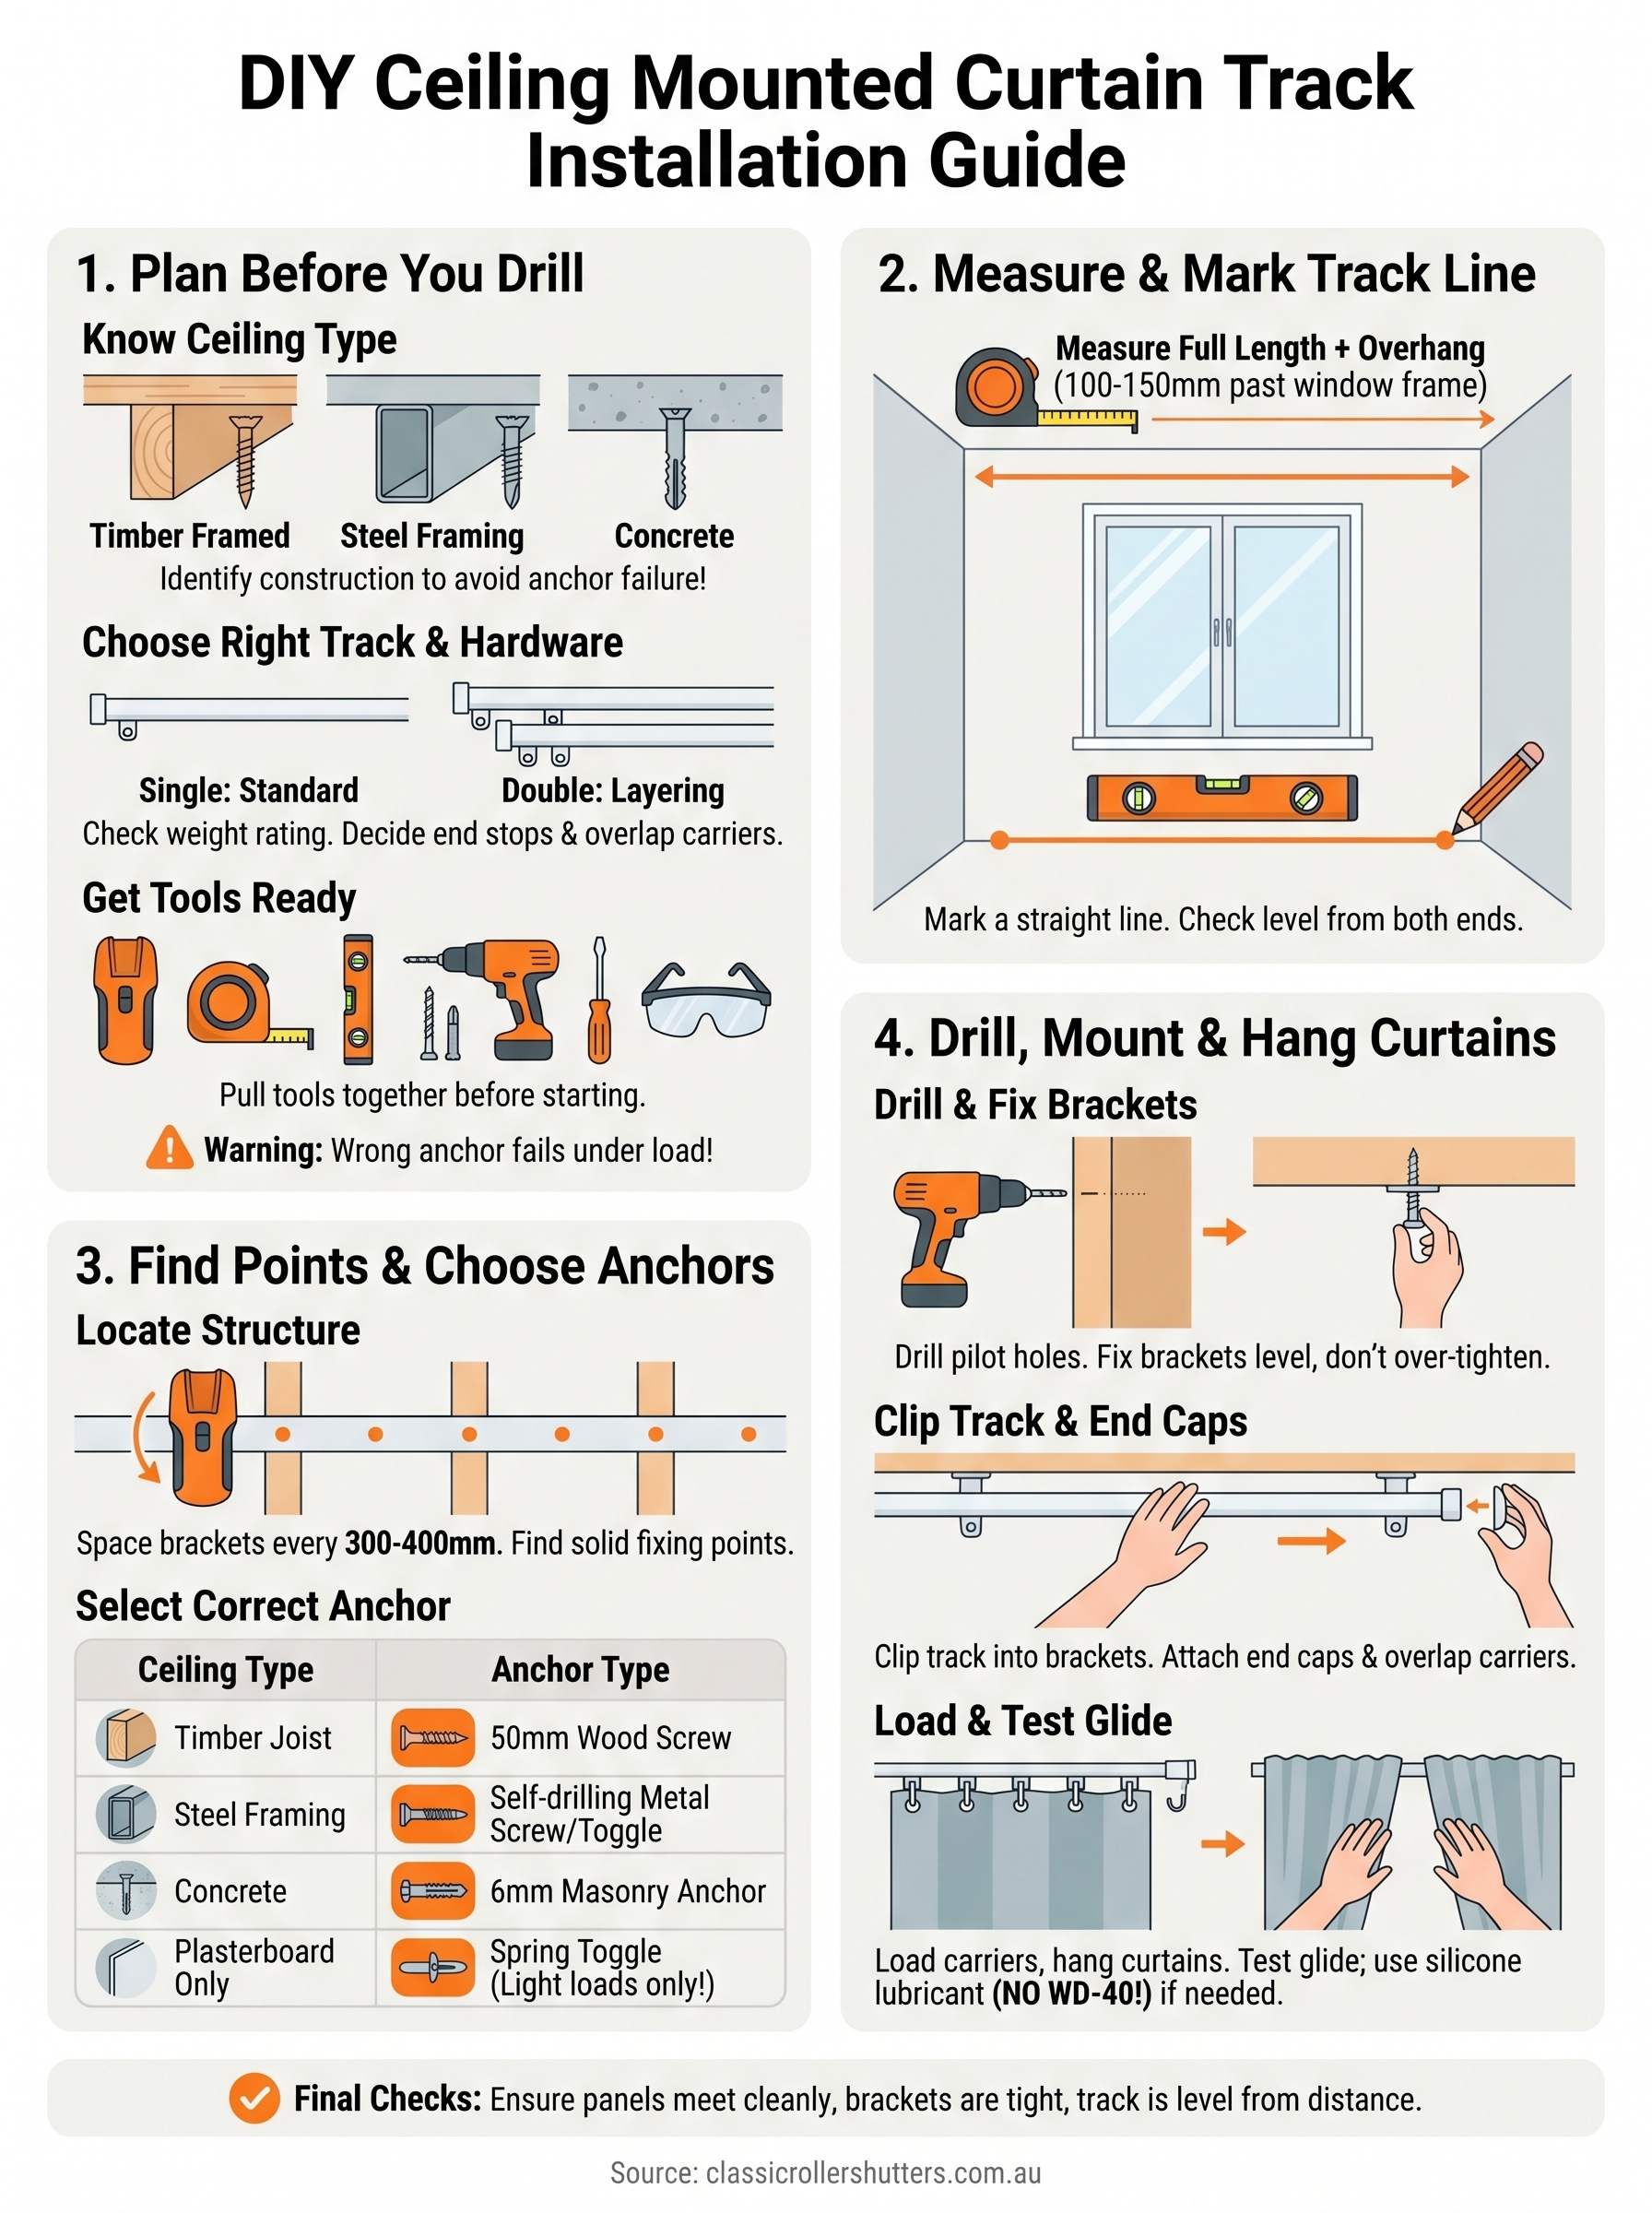
Good planning saves you from patching holes and starting over. Before your ceiling mounted curtain track installation goes anywhere near a drill, you need to answer three questions: what’s above your ceiling lining, what track system suits your curtains, and what tools you actually have on hand.
Know your ceiling type
Timber-framed ceilings are the most DIY-friendly option, because you can screw brackets directly into joists using standard wood screws. Plasterboard over steel framing requires self-drilling metal screws or toggle anchors rated for the expected load. Concrete ceilings, common in apartments and commercial builds across Adelaide, need a hammer drill and masonry anchors. Getting this wrong means your track pulls free under the weight of the fabric.
Identify your ceiling construction before you buy a single bracket, because the wrong anchor in bare plasterboard will fail under even lightweight curtains.
Choose the right track and hardware
Single tracks suit standard window treatments, while double tracks let you layer a sheer and a blockout curtain on the same run. Check the weight rating on any track before you buy; heavier fabrics like velvet or thermal lining need a track rated for at least 3 to 4 kg per metre. Match your brackets to the track system, since most manufacturers design fittings that clip or screw specifically to their own track profiles.
You also need to decide on end stops and overlap carriers at this stage. An overlap carrier lets two curtain panels meet in the centre without a gap, which matters most for blockout performance. Write down your measurements, track type, and planned bracket spacing before you head to the hardware store.
Tools you’ll need
Pull together your tools before you start so you’re not stopping mid-installation. For most residential ceilings, a standard cordless drill handles timber joists and plasterboard without any trouble. Concrete ceilings require a hammer drill and a dedicated masonry bit as a minimum. Here is a straightforward checklist:
- Stud finder or joist detector
- Tape measure and pencil
- Spirit level (at least 600 mm long)
- Drill with appropriate bits (timber, metal, or masonry)
- Screwdriver (manual or powered)
- Safety glasses
Step 1. Measure and mark the track line
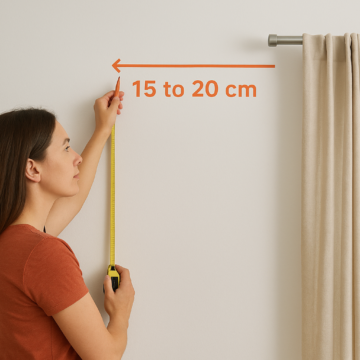
Accurate measuring is the foundation of a clean ceiling mounted curtain track installation. Decide first how far the track will extend beyond each side of the window; a practical standard is 100 to 150 mm past the window frame on each side, so the curtain stack clears the glass when you open the panels fully.
Measure the full track length
Use a steel tape measure to record the full run from your planned start point to your planned end point. Measure twice and note both figures before you mark anything on the ceiling. If the two results differ, measure a third time and go with the consistent reading.
For a double track setup, also note the secondary track offset. This is typically 80 to 100 mm toward the wall from the first line, which gives each curtain layer enough clearance to glide independently without catching.
Mark a straight line across the ceiling
Mark each end point of your track run with a light pencil dot on the ceiling surface. Then hold a long spirit level or chalk line between the two dots and draw a single faint line connecting them. Step back and check the line from both ends of the room before you move on.
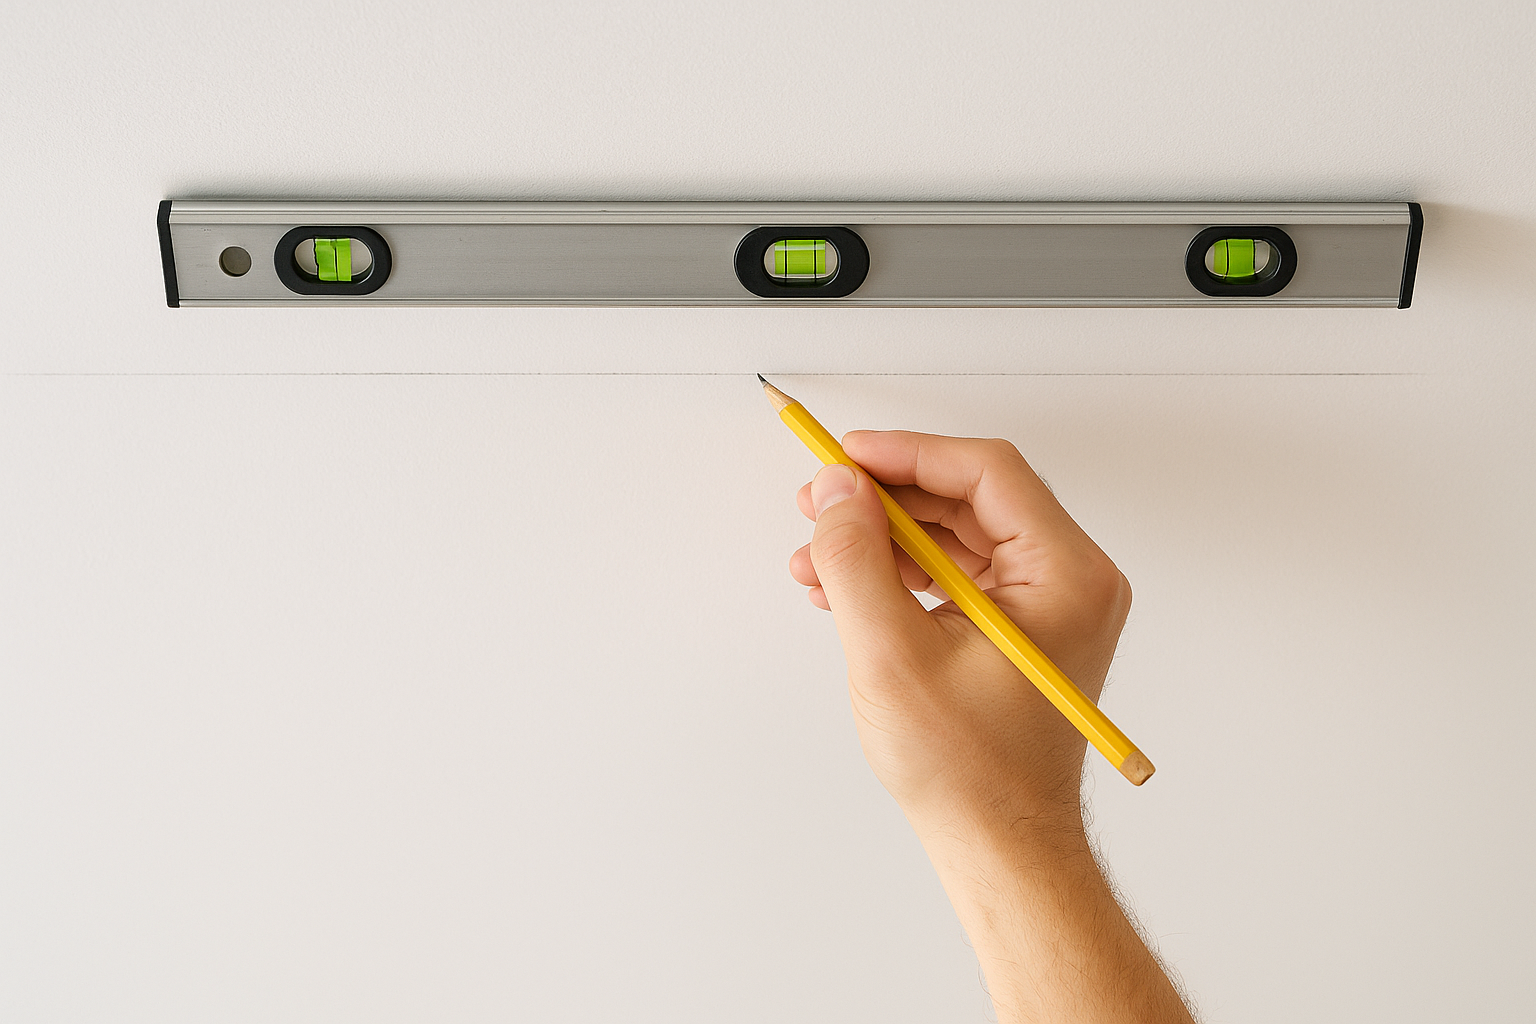
A crooked line at this stage becomes a crooked track for the life of the installation, so take the time to confirm it is level before you pick up the drill.
Step 2. Find fixing points and choose anchors
Your bracket spacing determines the long-term stability of a ceiling mounted curtain track installation. Space brackets every 300 to 400 mm along the track run and place one bracket close to each end cap. Before you mark those positions on the ceiling, confirm exactly where your solid fixing points sit above the lining, because a bracket driven into bare plasterboard carries almost no load and will pull through once the curtains are in place.
Locate joists or solid structure
Run a stud finder along your marked track line, moving slowly from one end to the other. Mark each joist or steel stud with a small pencil dot as you find it. On timber-framed ceilings, joists typically fall 450 mm or 600 mm apart.
If the detector finds nothing across a stretch, shift it slightly to either side of your pencil line and try again. When no joist aligns with your ideal bracket positions, screw a timber backing batten across two joists first, then fix your brackets into the batten for a solid, distributed load.
A batten approach also lets you space brackets precisely where the track needs support, rather than being limited to wherever joists happen to fall.
Choose the right anchor for your ceiling
The anchor you pick depends entirely on what sits above the lining. Using the wrong fixing is the most common reason tracks fail mid-use, so confirm your ceiling construction before you open any packaging.
| Ceiling Type | Recommended Fixing |
|---|---|
| Timber joist | 50 mm wood screw, 8 gauge |
| Steel stud framing | Self-drilling metal screw or toggle bolt |
| Concrete slab | 6 mm masonry anchor and bolt |
| Plasterboard only | Spring toggle or cavity anchor (light loads only) |
Step 3. Drill, mount brackets, and clip in track
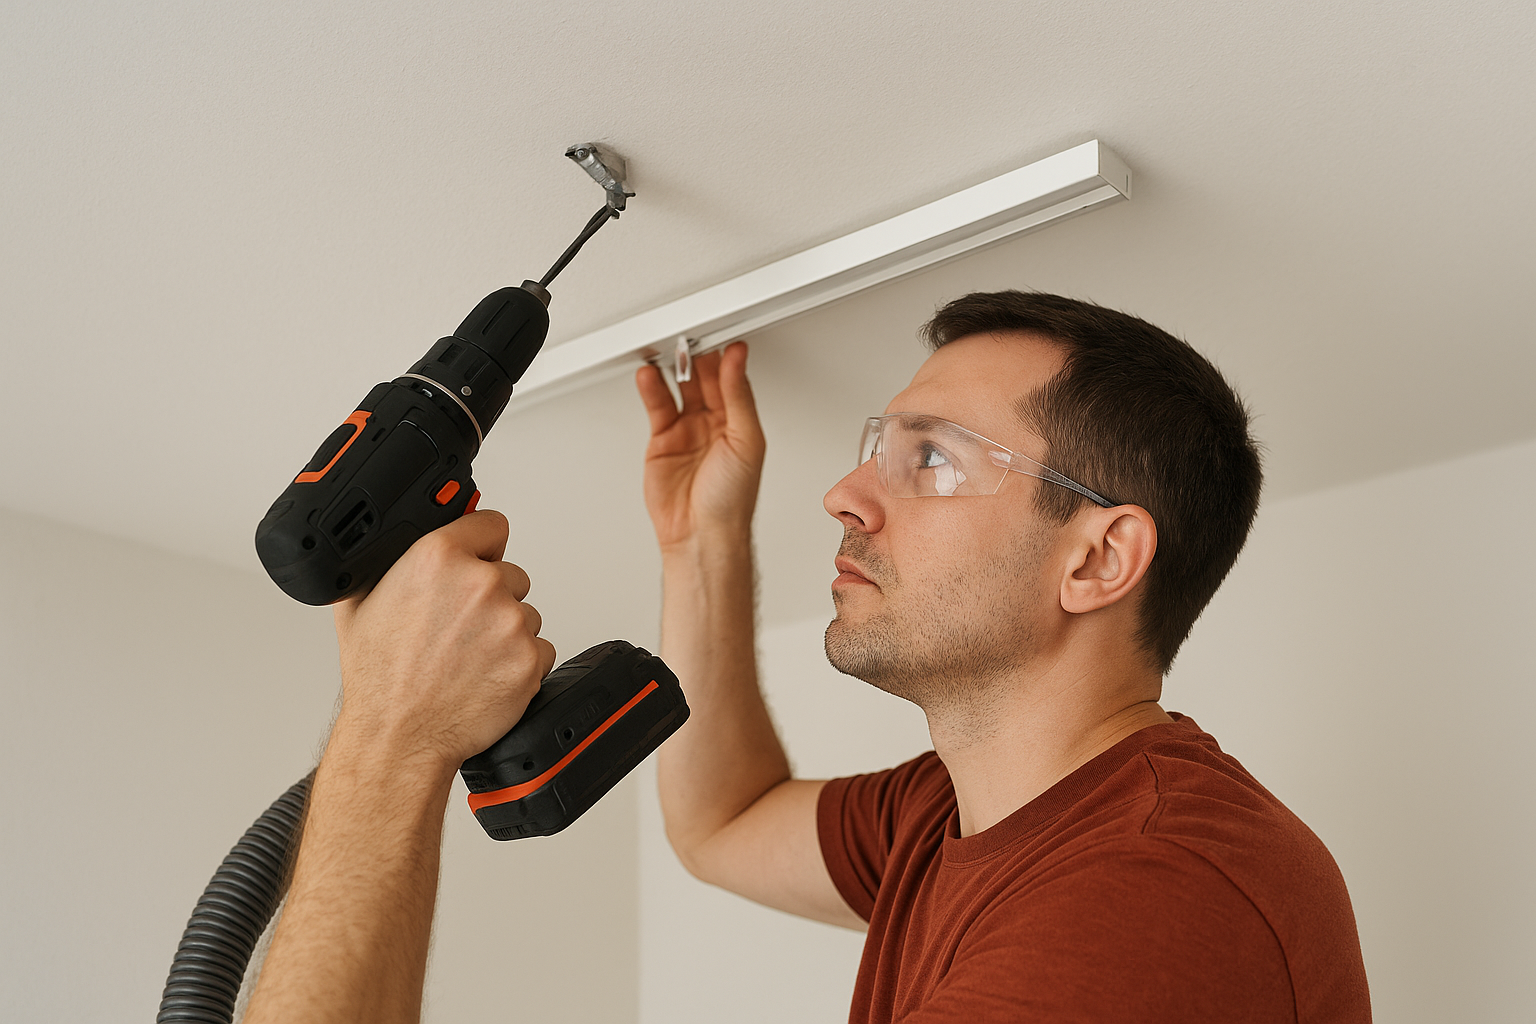
With your fixing points marked and your anchors chosen, you’re ready to start the physical part of your ceiling mounted curtain track installation. Put on safety glasses before you drill, and keep a vacuum nearby to catch plasterboard dust and debris as you work through each bracket position.
Drill and fix the brackets
Hold each bracket at its marked position and drill a pilot hole through the ceiling lining into the joist or anchor point above. For timber joists, a pilot hole slightly narrower than your screw shank prevents the timber from splitting. Drive your screws firmly, but stop before you over-tighten, because stripping the fixing at this stage leaves you with a weak mount that wobbles under load.
Check each bracket with a spirit level after fixing it, because even a small tilt throws the whole track out of alignment once the curtains are hanging.
Work from one end of the run to the other, fixing each bracket in sequence. Once all brackets are secured, run your finger along the underside of the bracket row to confirm they all sit at the same height. Any bracket sitting higher or lower than its neighbours needs to be loosened and adjusted before the track goes in.
Clip in the track
Slide or clip the track into each bracket following the manufacturer’s method, either a push-fit clip or a locking screw. Attach the end caps and overlap carriers before you close the final bracket, because adding them afterward is awkward once the track is fully locked into position.
Step 4. Hang curtains and fine-tune glide
With your track locked in, you’re ready to load the curtains and complete your ceiling mounted curtain track installation. Thread your curtain hooks or eyelet rings onto the glide carriers before you clip the panels in place, because adding them while the fabric is already hanging is awkward and risks pulling brackets loose.
Load the carriers and attach panels
Start at one end of the track and count your carriers to confirm you have enough for the number of hooks on your curtain heading tape. Hook each pleat in sequence, working from the leading edge back toward the end cap so the fabric hangs evenly from the start.
Common heading tape types and how they relate to carrier spacing:
- Pencil pleat: one carrier per hook pocket, typically every 80 mm
- Pinch pleat: one carrier per pleat group
- Eyelet: one carrier per eyelet ring
Test and adjust the glide
Push both panels fully open, then draw them closed and check that they meet cleanly in the centre without bunching or catching. If a panel drags or sticks, lift it slightly and reseat the carrier in its groove.
Never use WD-40 on a curtain track, as petroleum-based sprays attract grime and make the problem worse over time.
A small drop of silicone lubricant on the track channel solves most stubborn glide issues without leaving residue. Confirm that your end stops are locked firmly on both sides so no carrier runs off the track when you open the panels fully.
Final checks – 83692266
Before you step back and call your ceiling mounted curtain track installation done, run through a quick final inspection. Pull both curtain panels fully open, then close them slowly and confirm the leading edges meet in the centre without overlapping unevenly or leaving a gap. Check every bracket by hand to make sure none have worked loose during the loading process, because fabric weight can reveal a borderline fixing that felt firm before the curtains went on.
Step to the opposite side of the room and look at the track line from a distance. From here you can spot any section that sits lower than the rest, something that is difficult to see while you are standing directly underneath it. If everything lines up, your job is finished.
If measuring, drilling, and anchoring into different ceiling types sounds like more work than you want to take on, talk to the team at Classic Roller Shutters Adelaide for a free in-home consultation and professional installation.