Upgrading a manual roller shutter to an electric motor typically takes 60–90 minutes per window, costs between A$600and A$750, and only requires a handful of easily sourced parts.
Homeowners motorise their shutters for fingertip convenience, quieter sleep, improved insulation, break-in deterrence and to help family members who find crank handles a chore. If you’re a competent DIYer, a renovator working from floor plans, or a property manager looking to cut call-out fees, with clear pictures and plain-English tips, this guide walks you through every stage of the conversion. We’ll show you how to confirm your shutter can take a motor, pick the right torque and control system, budget for parts and labour, remove the old mechanism, fit the tubular motor, wire or plug it in, program limits, troubleshoot teething issues, and keep the whole unit running smoothly for years. Any mains wiring must be completed or signed-off by a licensed electrician under Australian Standard AS/NZS 3000.
Step 1: Confirm Your Roller Shutter Is Suitable for Motorisation
Before you order a shiny new motor, a five-minute inspection will tell you whether the shutter can handle the upgrade and what size kit to buy.
Check curtain weight and size – we do this for you
Motor torque is matched to the load it has to lift. Weigh the curtain or calculate it: width (m) × height (m) × 5 kg/m² for insulated aluminium slats. A 0.9 m × 2.1 m panel is roughly 9.5 kg, so a 15 Nm motor is ideal. If height exceeds 3 m or weight tops 20 kg, step up to 30 Nm.
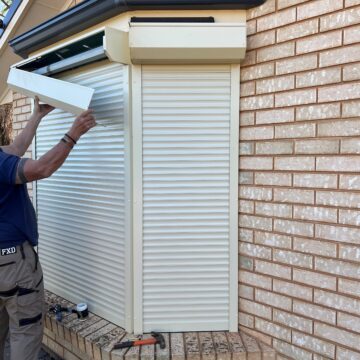
Inspect axle, end plates and clearances – we do this for you
Measure the octagonal or round axle with verniers; 40 mm, 50 mm and 60 mm tubes are common in Australia. There must be 60–80 mm of free space inside the pelmet so the tubular motor body clears the end plate and curtain stack without rubbing.
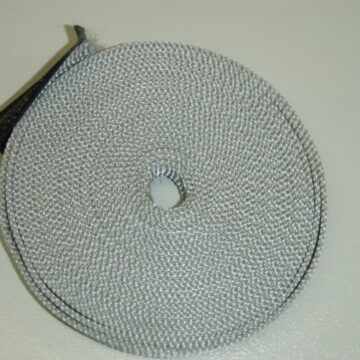
Identify existing drive type – we do this for you
Note what you’re removing: tape winder, cord pulley, crank gearbox, spring-assist, ageing battery tube or a failed hard-wired motor. Each influences which adaptors and brackets you order.
When a replacement motor makes more sense than repair
Swap rather than fix if you hear grinding, limits drift, water has entered the head, or the motor is older than 10 years. Frequent thermal cut-outs are another red flag.
Regulatory and electrical prerequisites
Australian Standard AS/NZS 3000 mandates that any 240 V wiring is done—or signed off—by a licensed electrician. Check local council façade rules and obtain strata approval for visible solar panels or external key switches.
Step 2: Choose the Right Motor, Controls & Accessories
With your measurements in hand, the next decision is which drive package will give you years of hassle-free service. The shortlist below distils the dizzying number of models on the shelf into the handful that suit most Australian homes.
Tubular vs. offset motors: torque, speed & noise
- Tubular motors sit inside the axle, hidden and quiet (≈ 45 dB). They cover about 95 % of residential retrofits.
- Offset (side) motors bolt to the end plate and drive the axle via a chain. They supply higher torque for very wide doors but are bulkier and louder.
Unless your shutter tops 25 kg or 3.5 m wide, a mid-torque tubular unit is the smarter, tidier pick.
Selecting torque rating using a chart – we take out the guess work 83692266
Rule of thumb: curtain area (m²) × 7 Nm = minimum torque.
| Width × Height (mm) | Area (m²) | Recommended Nm |
|---|---|---|
| 600 × 1200 | 0.72 | 10 |
| 900 × 2100 | 1.89 | 15 |
| 1200 × 2400 | 2.88 | 20 |
| 1800 × 2700 | 4.86 | 40 |
Example: a 2100 mm × 900 mm shutter (1.89 m²) needs 1.89 × 7 ≈ 13 Nm; choose the next size up—15 Nm—to give headroom for wind load and ageing.
Power options: 240 V hard-wired, 12 V battery, solar
- 240 V: cheapest motor cost, unlimited cycles, but an electrician must wire an isolator.
- 12 V battery: true DIY plug-in, keeps working in blackouts; battery swap every 3–5 years.
- Solar: add a 5 W–10 W panel to trickle-charge the same battery—perfect where mains isn’t nearby.
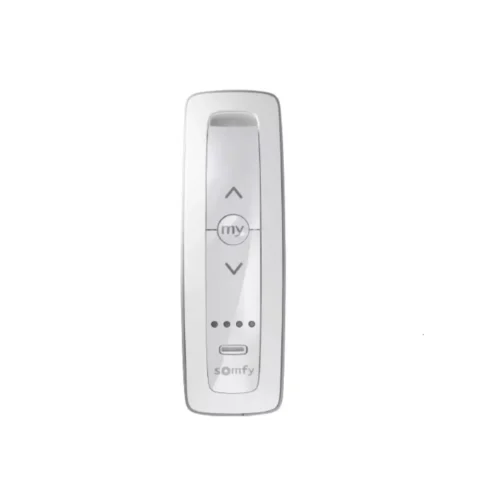
Control methods: wall switch, RF remote, Wi-Fi/Smart Home
- Hard-wired rocker or key switch: rock-solid but fixed location.
- 433 MHz RF remote: one-press operation, group channels, learn mode.
- Wi-Fi (2.4 GHz) hub: timers, geofencing, Siri/Google/Alexa voice commands—ideal for energy-saving automations.
What type of motor is used for a roller shutter door?
Most domestic shutters run a single-phase tubular induction motor with an integrated worm gearbox and electronic limit switches, designed for 15–20 cycles per day. That little steel tube is the unsung hero of this entire roller shutter motor upgrade guide.
Step 3: Budgeting the Upgrade – Parts, Labour & Hidden Costs
Knowing the real price before you start prevents half-finished shutters and surprise electrician invoices. Use the figures below as a realistic 2025 benchmark for South Australia; regional or high-rise jobs may add access premiums.
Conversion cost range in Australia
- Researchable Battery mech/battery motor: $450–$560 per opening. Ground Floor
- 240 V hard-wired kit: $600–$750, driven mainly by electrician time. Ground Floor, Standard Motor
- Volume discounts: were happy to offer a great discount, ask us when you call 83692266
Warranty & lifespan expectations
Reputable motors carry 5-year warranties and survive 10–15 years (≈ 4,000 cycles) if cycled <20 times a day. Coastal salt, direct sun on a north-facing pelmet and poor drainage shorten that figure.
Money-saving tips
- Re-use the existing hood and guides.
- Combine the electrician’s visit with other jobs—RCD testing, extra GPOs, etc.
- When to call a professional 83692266
Persistent RCD tripping, water inside the pelmet, seized axle bearings or a rhythmic grinding noise are beyond quick DIY fixes. In those cases, book a qualified technician—continuing to cycle the shutter risks irreparable damage and voids most warranties.
Step 4: Maintain Your Upgraded Roller Shutter for Years of Reliable Service
A quality motor should give you a decade or more of trouble-free lifting, but only if you treat it like the small appliance it is. Five minutes of care every quarter will head off 90 % of call-outs, keep the warranty intact and save you the headache of a stuck curtain on a scorcher of a day.
Routine cleaning & lubrication
- Rinse the curtain and guides with a low-pressure hose each season to flush dust, salt and cobwebs.
- Dry, then mist the side tracks with silicone spray; wipe off excess so it doesn’t stain brickwork.
- Never use solvent-based sprays (WD-40, RP-7) on plastic wheels or rubber seals.
Annual electrical safety check
- Trip and reset the RCD, confirming the lever latches firmly.
- Inspect flex for UV cracks; replace if copper is visible.
- Re-torque terminal screws inside the isolator to 1 Nm—loose actives cause heat spots.
Signs it’s time for a motor replacement
Intermittent stopping, louder than usual humming, overheating after two cycles, or jerky starts all point to worn gears or windings. Most units pass their prime at the 10–15-year mark or 4,000 cycles—whichever comes first.
Record-keeping for warranty claims
Snap photos of the install, label each remote, and store receipts and programming notes in a cloud folder. Jot dates of cleaning, battery swaps and electrician visits in a spreadsheet; if the motor ever fails, detailed logs make warranty approval almost automatic.
Ready to Roll
A smooth, whisper-quiet shutter is now just nine clear steps away. First, check the curtain’s weight, tube size and clearances so you know it can accept a motor. Second, pick a torque rating and control option that fits your lifestyle and budget. Third, price the parts, allow for electrician time, and grab the right tools and PPE. From there it’s a matter of stripping the old winder, sliding in the tubular motor, wiring or plugging it in, locking the travel limits and running a few test cycles. Finish up with a quick hose-down and a dab of silicone spray every quarter and your upgraded roller shutters will keep out heat, noise and would-be intruders for well over a decade.
Need factory-priced motors, spare parts or a technician to do the whole lot for you? Reach out to Classic Roller Shutters Adelaide and we’ll get your windows moving in no time.