You’ve picked out the perfect curtains, now you just need to get them up on the wall. Learning how to install a curtain rod might seem straightforward, but a few wrong measurements or a poorly anchored bracket can leave your curtains hanging crooked, sagging, or worse, pulling away from the wall entirely. Getting it right the first time saves you patch-up jobs and frustration.
At Classic Roller Shutters Adelaide, we’ve been manufacturing and installing curtains and window coverings across Adelaide for over 40 years. Our team hangs curtain rods daily, and we know exactly where most DIY installations go sideways. That hands-on experience is what shaped this guide, practical steps based on what actually works, not just textbook theory.
Below, we’ll walk you through every stage of the process: choosing the right rod and brackets for your window, measuring and marking for proper placement, drilling, mounting, and getting everything level for a clean, professional finish. Whether you’re fitting curtains in a new build or updating a room during a renovation, this guide will give you the confidence to do it yourself.
What to plan before you drill
Before you pick up a drill, a few minutes of planning is the step most people skip when learning how to install a curtain rod, and it’s exactly why walls end up with extra holes and brackets that won’t sit straight. The planning stage covers three things: the right rod for your window, the right tools for the job, and a clear understanding of your wall type. Skipping any one of these leads to trouble further down the track.
Choose the right curtain rod for your window
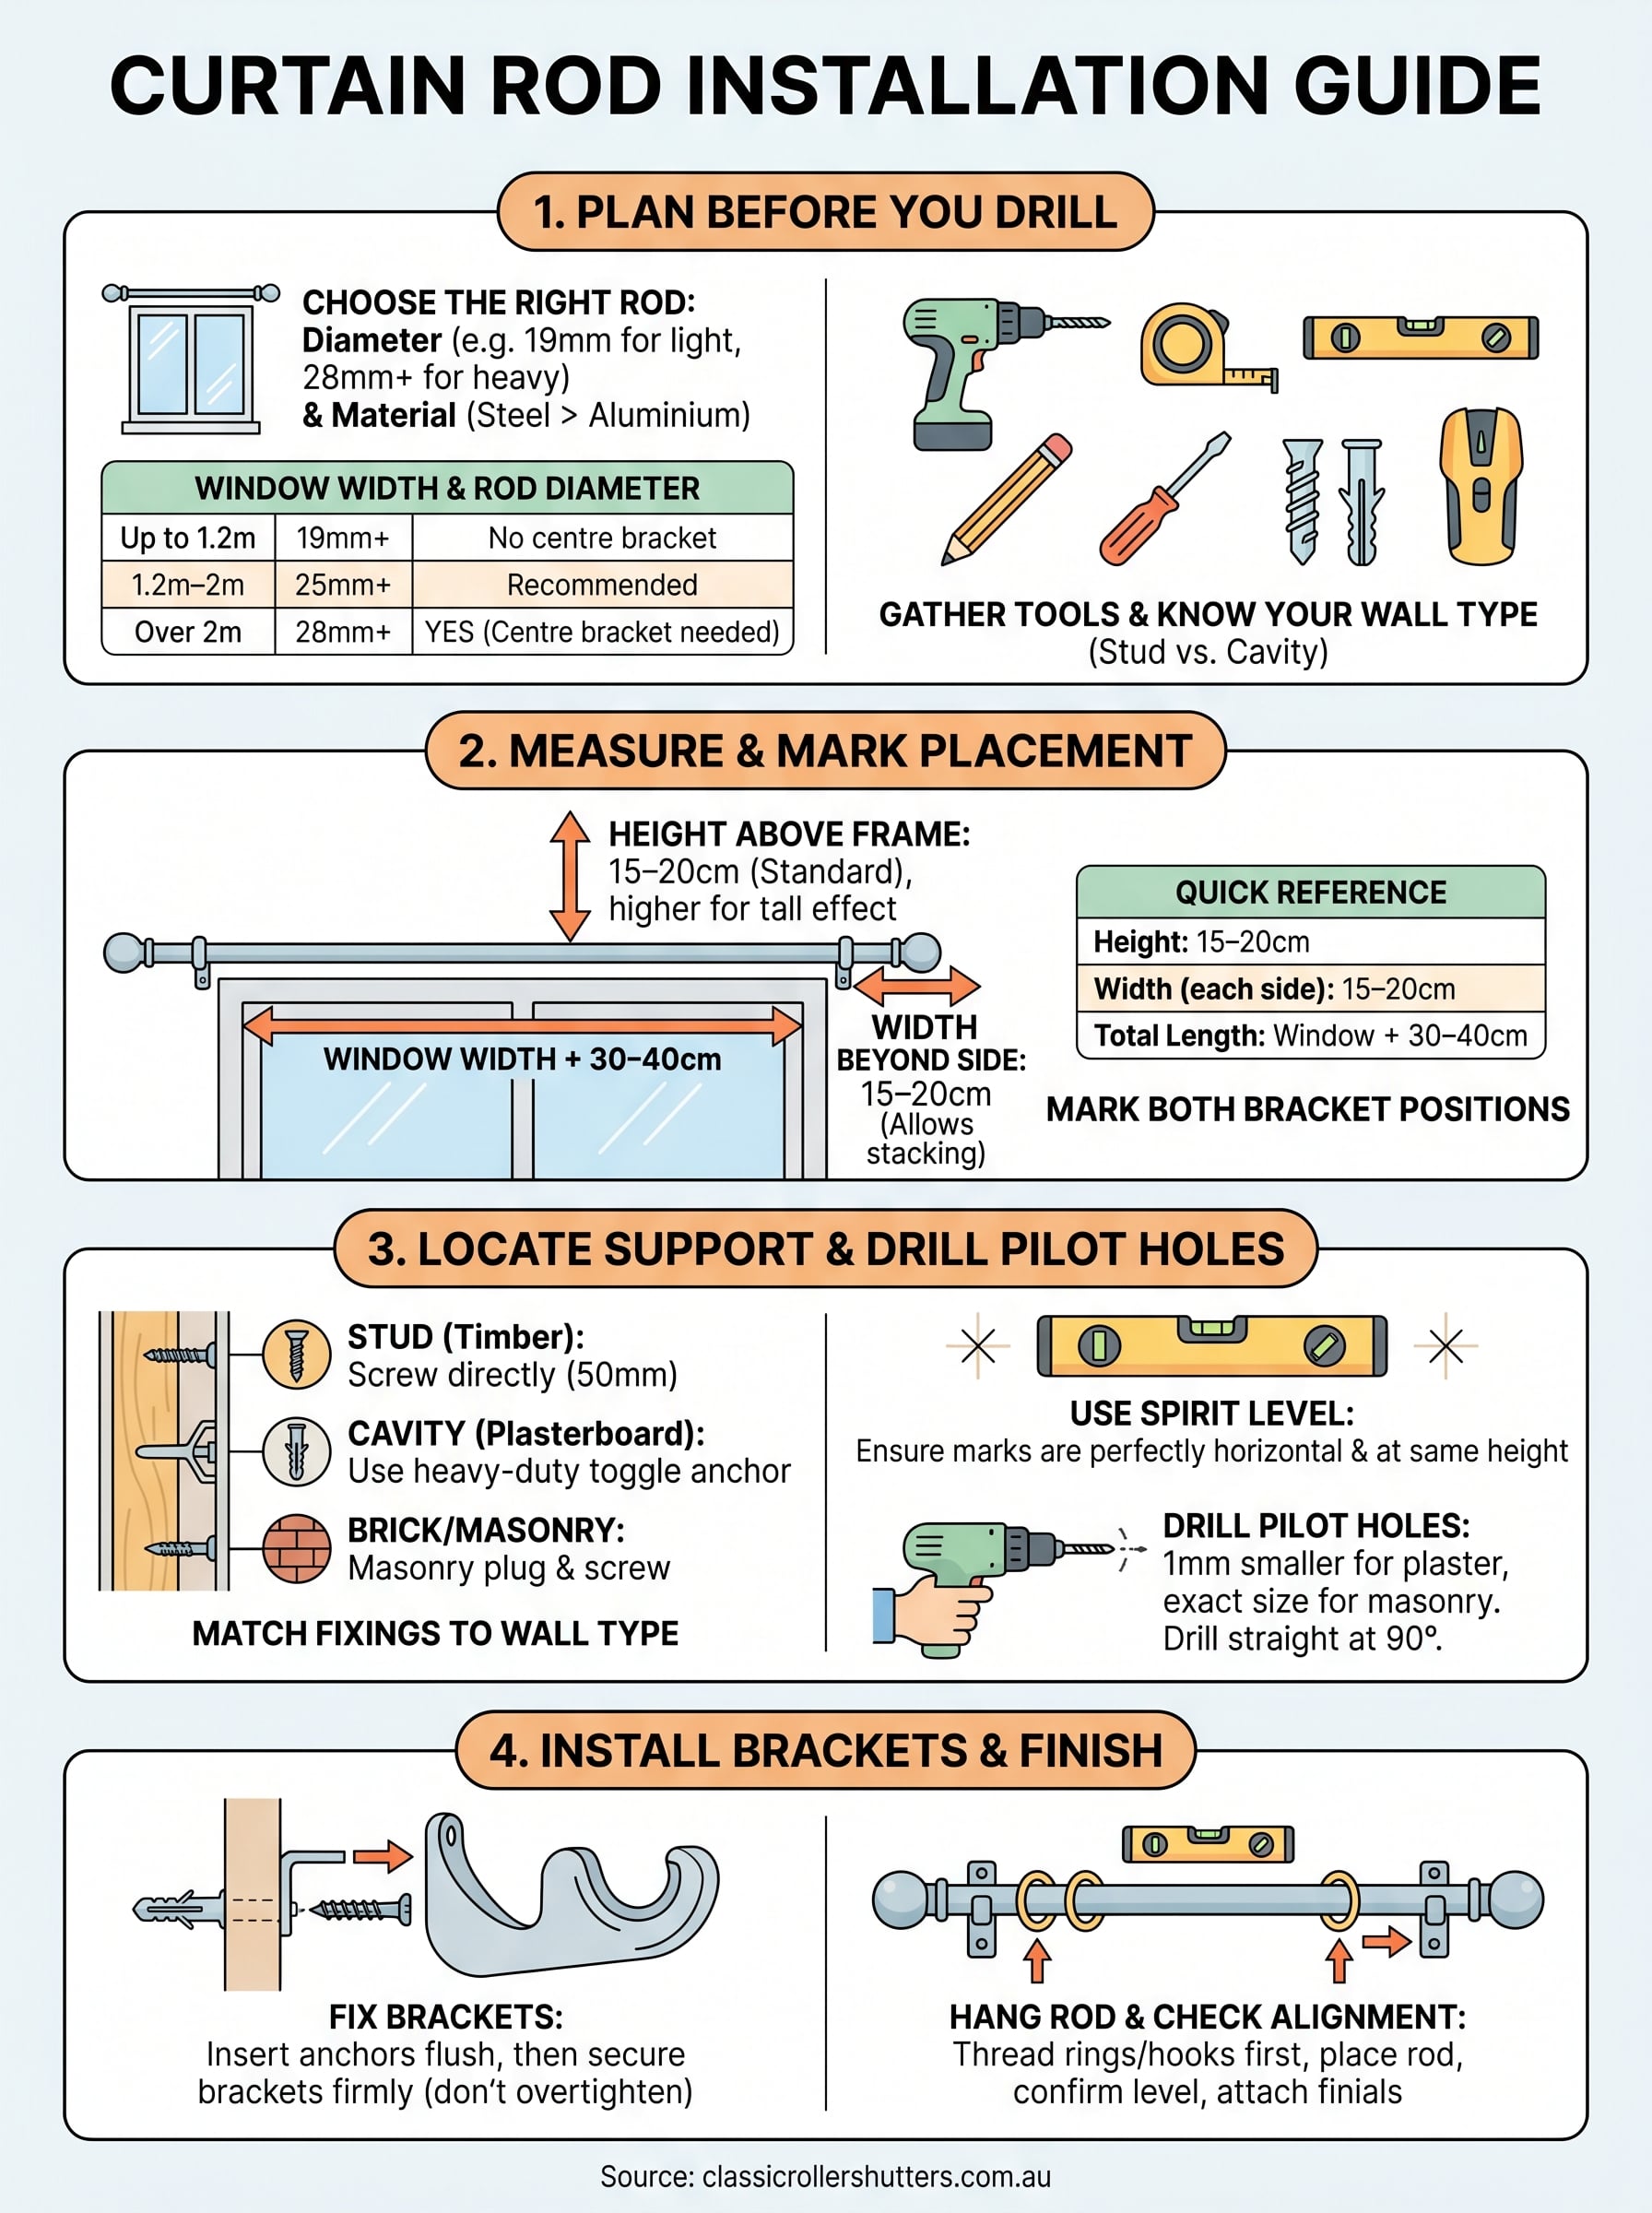
Not every rod suits every window or curtain. Rod diameter and weight capacity matter most here. A lightweight café curtain on a narrow window can sit on a slim 19mm rod, but heavy blockout curtains spanning 2 metres or more need a rod of at least 28mm diameter, ideally paired with a centre support bracket to prevent bowing.
The rod you choose should comfortably hold the full weight of your curtains when they are bunched together at one end, not spread out across the full span.
Rod material also plays a role. Steel rods carry more weight than hollow aluminium or plastic alternatives and resist bending over longer spans. If your window is wider than 1.5 metres, plan for a centre bracket regardless of rod material.
| Window width | Recommended rod diameter | Centre bracket needed? |
|---|---|---|
| Up to 1.2m | 19mm or larger | No |
| 1.2m to 2m | 25mm or larger | Recommended |
| Over 2m | 28mm or larger | Yes |
Gather your tools and materials
Knowing what tools you need before you start means you won’t abandon the job halfway through looking for a drill bit. For most standard curtain rod installations on brick, plasterboard, or timber-framed walls, you’ll need the following:
- Power drill with masonry or timber drill bits matched to your wall type
- Spirit level (a 30cm level works well)
- Tape measure
- Pencil
- Screwdriver or drill with screwdriver attachment
- Wall anchors or plugs suited to your wall type
- Stud finder (for plasterboard walls)
Wall anchors are particularly important on plasterboard walls where you are not drilling directly into a stud. Use heavy-duty toggle anchors rated for at least twice the weight of your curtains to keep brackets secure over time.
Step 1. Measure up and choose rod placement
The most common mistake in how to install a curtain rod is placing brackets at the wrong height or width. Getting these two measurements right before you mark the wall is what separates a clean-looking installation from one that looks rushed.
How high to mount the rod
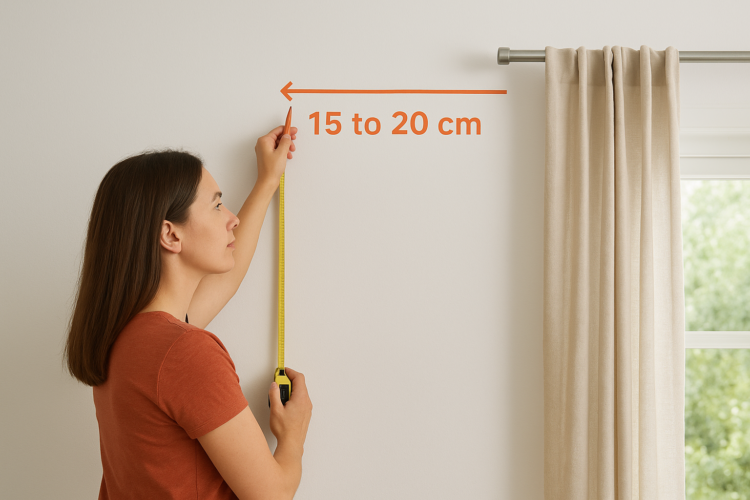
Rod height controls how the curtains read in the room. For standard ceiling heights around 2.4m, mount the rod 15 to 20cm above the top of the window frame. If your ceilings are taller, push that up to 25cm or even closer to the ceiling to make the window feel larger and draw the eye upward.

Hanging the rod closer to the ceiling than to the window frame creates the illusion of a taller, more proportional window, even on compact windows.
For rooms with extra-high ceilings, aim to position the rod no lower than two-thirds of the way up the wall. This keeps the curtain panels looking intentional rather than lost in the space above the window.
How wide to extend the rod past the frame
Rod width determines how much natural light enters the room when the curtains are open. Extend the rod 15 to 20cm beyond each side of the window frame so the curtain stacks neatly to the side without blocking the glass.
Use this quick reference when marking out your rod position:
| Measurement | Recommended distance |
|---|---|
| Height above frame | 15 to 20cm (standard ceiling) |
| Width beyond each side | 15 to 20cm |
| Total rod length | Window width + 30 to 40cm |
Mark both bracket positions with a pencil before you drill anything. Confirming both marks lets you check the layout is balanced while nothing is yet committed to the wall.
Step 2. Locate support and pick the right fixings
Once your rod position is marked on the wall, the next critical step in how to install a curtain rod is confirming what sits behind the wall surface at each bracket location. Drilling into the wrong spot means your fixings won’t hold under load, and a bracket pulling away from the wall mid-week is not a result you want.
Find the studs or solid backing
On plasterboard walls, use a stud finder to scan horizontally across each bracket mark. Studs in Australian residential builds typically sit 450mm or 600mm apart, so if your bracket falls between studs, you have two options: shift the bracket slightly to align with a stud, or use a heavy-duty wall anchor rated for the curtain’s weight. On brick or masonry walls, the surface itself provides solid support, so any point along the wall is generally fine to drill into.
Always confirm the fixing point before drilling. Tapping the wall lightly with your knuckle gives a dull thud over a stud and a hollow sound over a cavity.
Match your fixings to your wall type
Using the wrong anchor for your wall type is one of the most common reasons brackets fail. Match your fixings to the surface using this guide:
| Wall type | Recommended fixing |
|---|---|
| Timber stud (plasterboard) | 50mm timber screw directly into stud |
| Plasterboard cavity | Heavy-duty toggle anchor or spring toggle |
| Brick or masonry | Masonry plug and screw |
| Concrete | Concrete anchor bolt |
Check the weight rating printed on the anchor packaging before purchase. For heavier curtains, choose anchors rated to at least 15kg per bracket.
Step 3. Mark out, level up, and drill pilot holes
With your bracket positions confirmed and your fixings chosen, marking out accurately is the step that determines whether your finished installation looks professional or lopsided. This is the stage in how to install a curtain rod where a spirit level earns its place. Taking two minutes here saves you from filling unwanted holes later.
Get your marks level before you drill
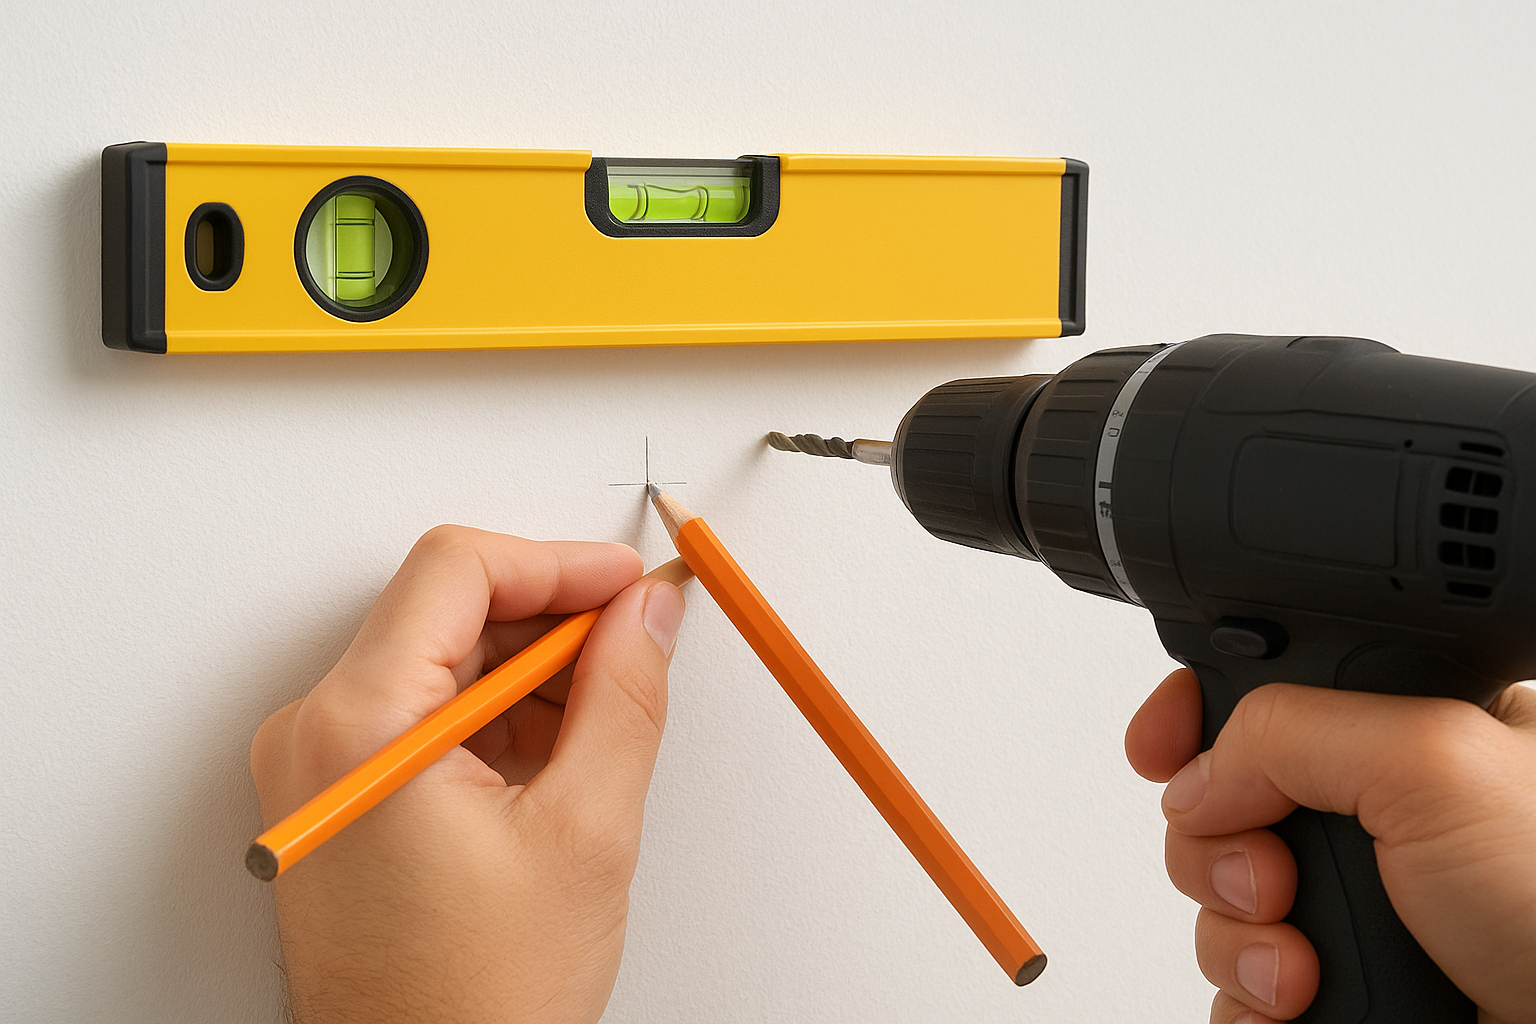
Hold your spirit level horizontally between your two bracket marks and adjust until the bubble sits dead centre. Pencil a small cross at the exact screw point for each bracket, not just a line. For brackets with two fixing screws, use the bracket itself as a template: hold it against the wall at your marked height and trace through each screw hole with your pencil.
Double-check both marks are at the same height from the floor before you drill, not just level with each other, as floors are not always perfectly flat.
Confirm the horizontal distance between brackets matches your planned rod extension on both sides of the window before you commit to drilling.
Drill pilot holes cleanly
Pilot holes prevent the wall surface from cracking and make driving screws far easier. For plasterboard, use a drill bit 1mm smaller than your anchor diameter. For brick or masonry, match the bit size exactly to your masonry plug and drill straight into the wall at 90 degrees, not at an angle. Keep steady, even pressure on the drill rather than forcing it, and clear dust from each hole before tapping in your anchor or plug.
Step 4. Install brackets, fit the rod, and finish
With your pilot holes drilled and anchors seated flush with the wall surface, you are ready for the final stage of how to install a curtain rod. This step moves quickly, but working methodically rather than rushing through it is what produces a result that looks clean and stays secure for years.
Fix the brackets to the wall
Push or tap each wall anchor into its hole until it sits flush. Then hold the bracket against the wall, aligning its screw holes over the anchors, and drive each screw in slowly using a screwdriver or low-torque drill setting. Tighten screws until the bracket feels firm and does not shift when you apply sideways pressure. Do not overtighten, as this can strip the anchor in the wall and weaken the hold.
Check each bracket for wobble before hanging the rod. A bracket that moves under hand pressure will not hold once the curtains are in place.
Hang the rod and check alignment
Thread your curtain rings or panel hooks onto the rod before fitting it into the brackets, as removing the rod later is awkward once it is seated. Lay the rod into the bracket cradles and engage any locking clips or end stops that came with your bracket set. Step back and confirm the rod sits horizontally by holding your spirit level along the top. If one end dips, loosen the lower bracket, insert a small plastic shim behind it to raise it, and retighten. Attach the finials to each rod end to lock everything in place and complete the look.
You’re ready to hang
Now that you’ve worked through every stage of how to install a curtain rod, from planning and measuring to drilling and fitting, your brackets are secure and your rod is level. The method works because each step builds on the previous one, and nothing is left to guesswork.
For windows that are wider than standard or rooms where you’re fitting multiple sets, the results will hold when you’ve matched your fixings to your wall type and used a centre bracket where the span requires it. Getting the rod height and extension right makes a visible difference to how the finished window reads in the room, so those measurements are worth taking twice.
When you need more than curtains, Classic Roller Shutters Adelaide manufactures and installs a full range of curtains, blinds, and roller shutters right here in Adelaide. Reach out to the team to book a free in-home consultation.