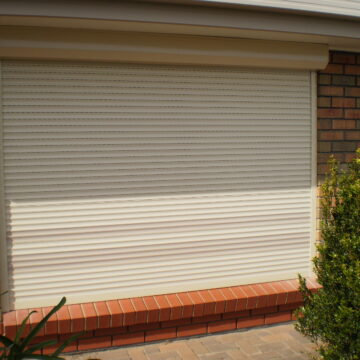
Roller shutter service for the windows & doors is commonplace in Adelaide today. The most commonly asked question we get, is do you need to maintain the roller shutters. This answer is dependent on where you live. If you’re living on the coast or on the sea, you know yourself that Maintenace is required more often on your home and vehicle. Some of the roller shutter maintenance that you can carry out yourself we have set out below. If you need help to repair your roller shutter contact us on 83692266.
Roller Shutter Maintenance
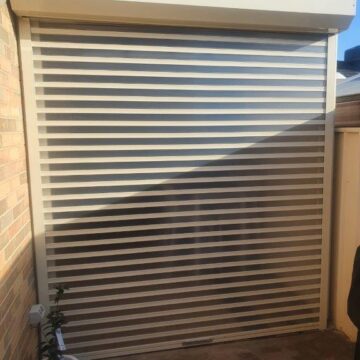
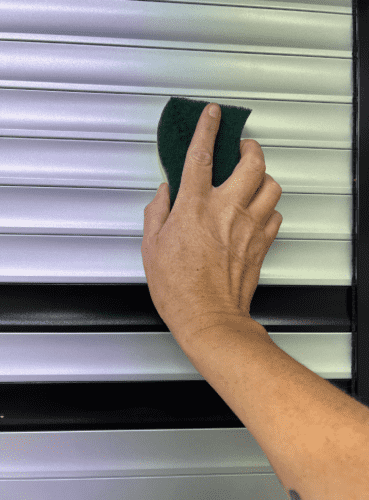
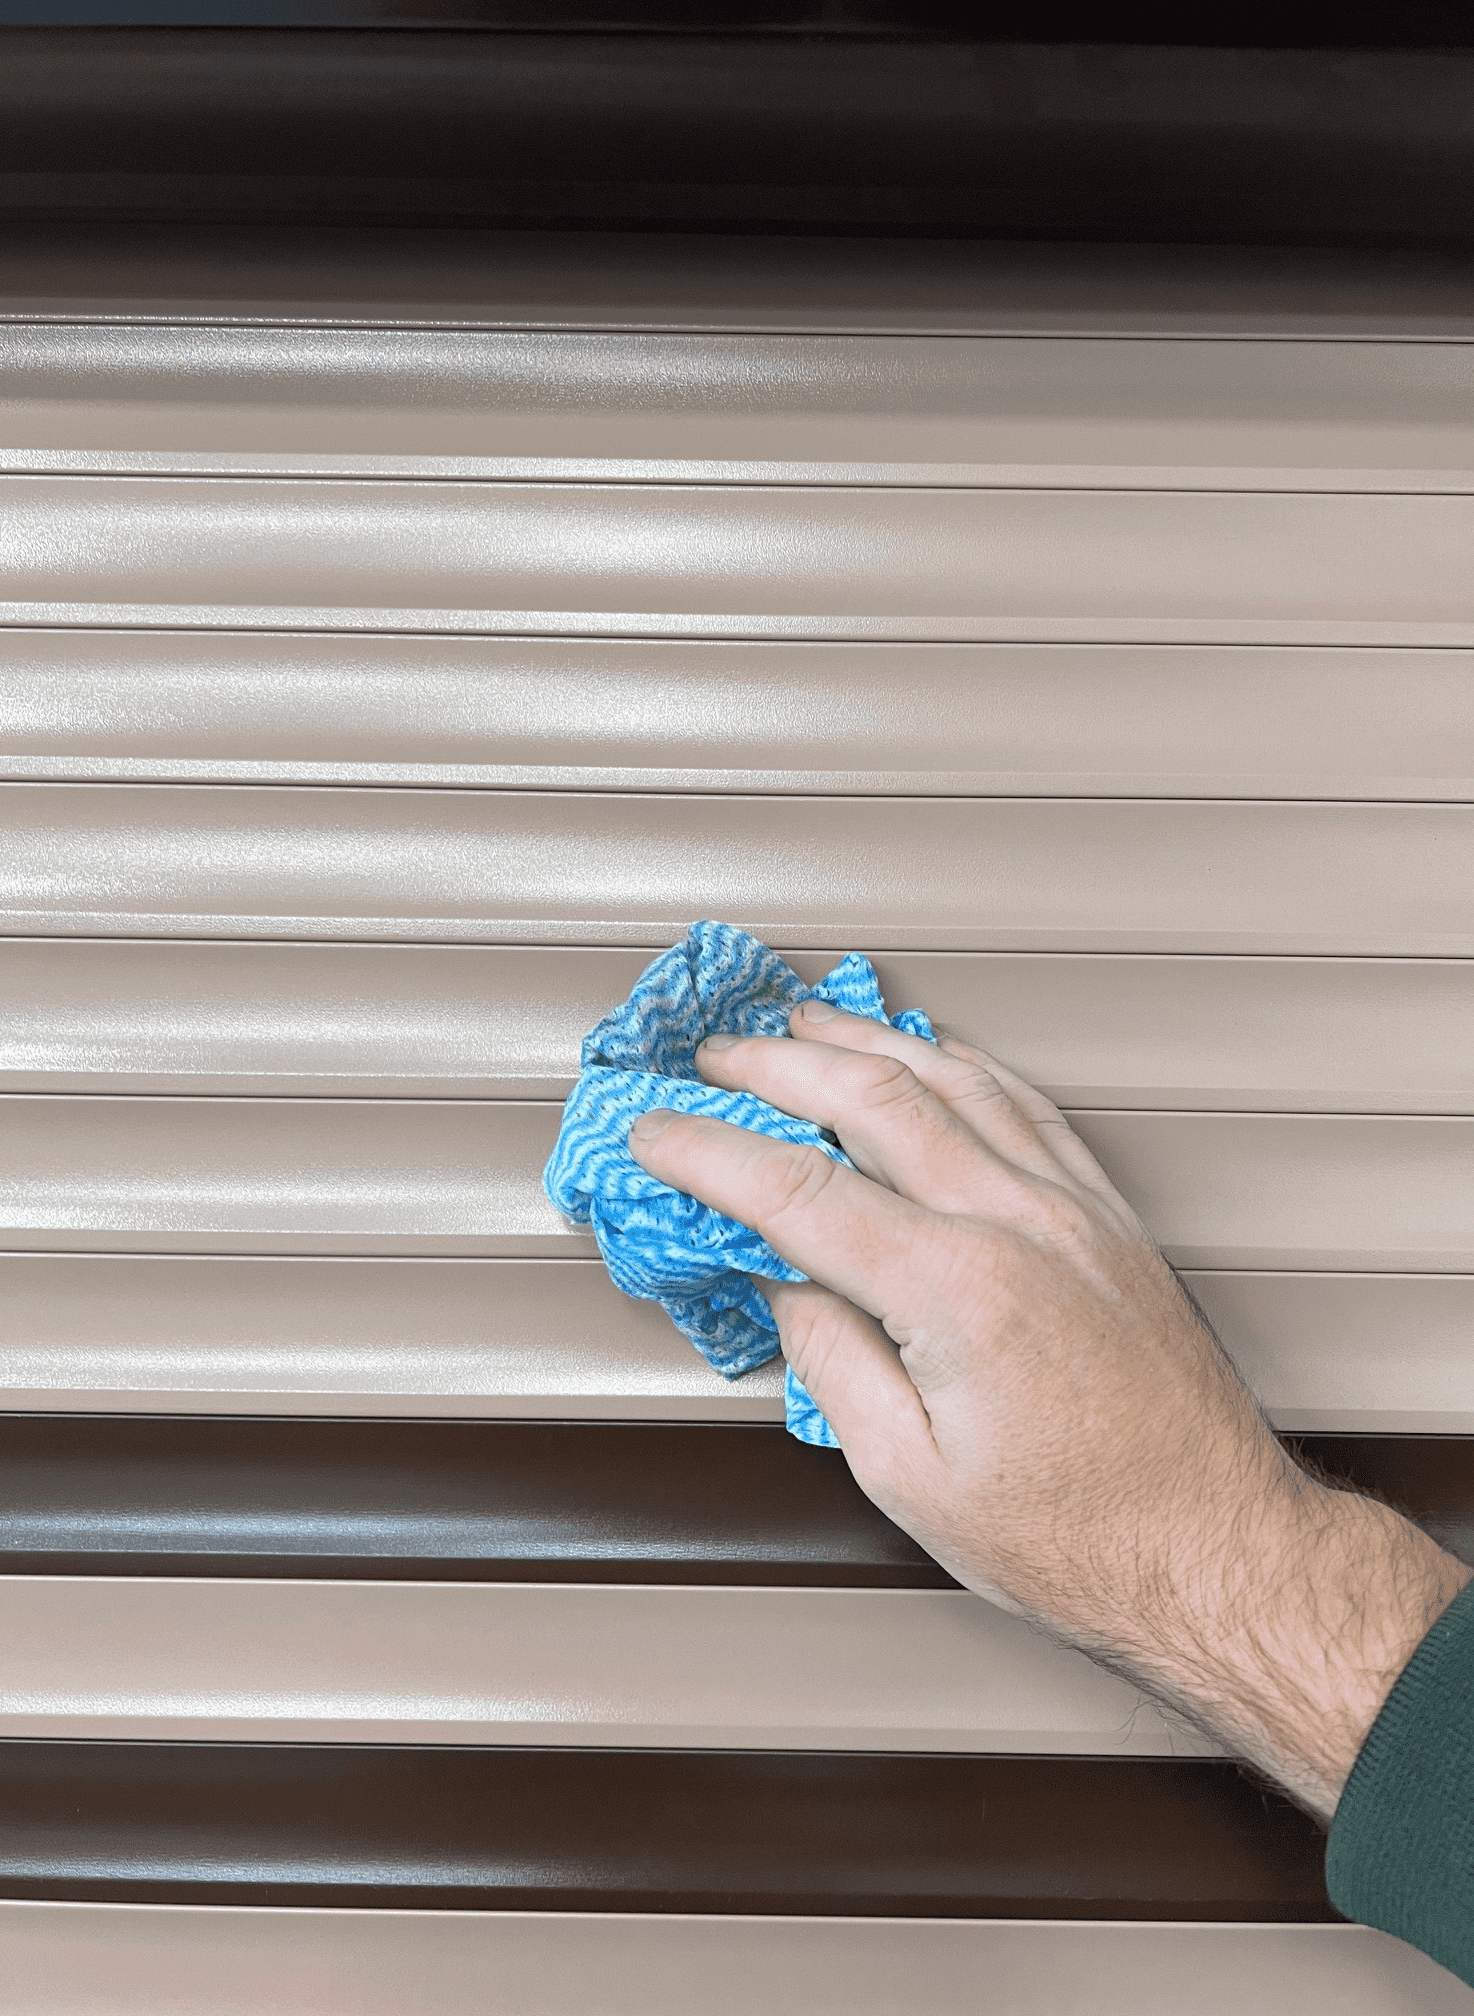
- Wash your roller shutters, close your shutters into the down position. You can either spray them with water or wash them by hand. Either way do not use harsh chemicals or cloths that are abrasive. Clean them by an up and down motion, side to side in the wrong spot can cause damage to wire if you have it. Firstly, rinse the excess dirt off, wash via warm water and a soft sponge using soft detergents. Rinse of again. Lift the shutter up into the pelmet box at the top and ensure you give the inside of the guides a clean. Overtime the Schlegel can absorb dirt and grime and become stiff, making it a bit harder for your roller shutter to move up and down with ease. Dry off your roller shutter or leave overnight to dry. Around once a year it is a good idea once the shutter is clean to go over it with a soft car polish and soft cloth. this brings your roller shutter up beautifully as it would if you polished your car surface. If you cannot reach the inside of your roller shutter to wash via an open window inside. We can come out and wash your roller shutters for you. Just ask for our service division.

Roller Shutter Service
There are a few things that you can do yourself for a roller shutter service. One task that you are able to perform is after you have done your roller shutter maintenance and cleaned the shutters. you can spray inside the guides when the shutter is in the up position. do not use wd40 standard as this is a grease-based lubricant and will run, stain and mark the shutter. however, you can use a greaseless lubricant brand like innox and wd40 anti friction dry. These lubricants are designed to use in situations like roller shutter guides and can also be used on your roller door. A roller shutter service really does not need any more servicing than what we have mentioned here. You should think about performing this task around 2 times a year.
Roller Shutter Repair
Roller shutter repair is something that you may be able to complete yourself, if you are tool handy. We have in stock all types of roller shutter parts in our showroom situated at 202 Park Trce, Salisbury Plains. We are also able to send you parts via mail. Simply visit our factory showroom and buy parts in store or alternatively hop on our web site and at the top go to parts online. From there you can purchase the parts you may need, and they will be posted out to you. Another option is to call our office on 83692266 and talk to one of our friendly staff. They will guide you through the part buying process and send it out to you.
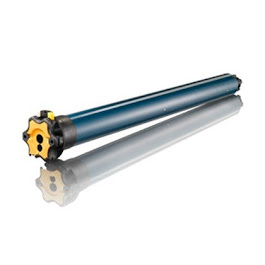
There are parts that may need to be replaced over time with a roller shutter. However our roller shutter repair division is equipped with parts on board to efficiently get this repaired for you. If you’re not handy we are more than happy to book one of our technicians to repair, it for you. We bring the parts with us and travel all over Adelaide, Hills and the barossa. Our roller shutter repair division also has electricians. So if you’re thinking about changing your manual or battery-operated shutter over to an electric motor or a remote. Call us and we can talk you through the process and book you in.
If you’re not comfortable performing roller shutter maintenance or roller shutter service call our office on 83692266. One of the staff will book you in for our roller shutter repair guys to pop out for you.